Before we start, you must have a great many frames of png images. You can transfer them from a video or download them from our material library on Easy Video Maker(EAV) YouTube Movie Maker(YMM).
Once everything is ready, let’s jump into the next operational steps.
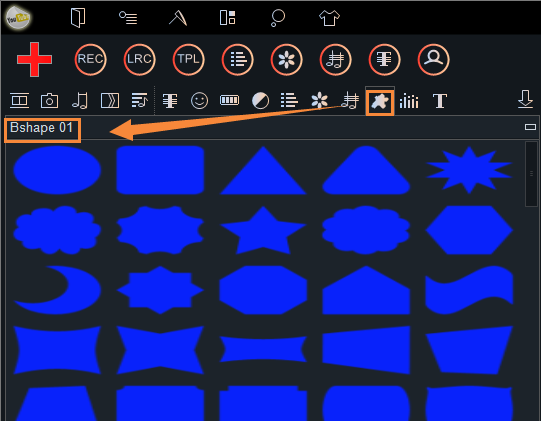
Step 1: Run the programma and click the ![]() “Shape” button.
“Shape” button.
And you’ll see the shape basin.
Step 2: Click the option tab and choose “Customize A New Shape”.
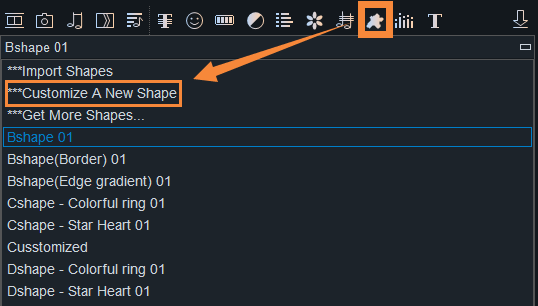
Then, you’ll see a pop-out window like this.
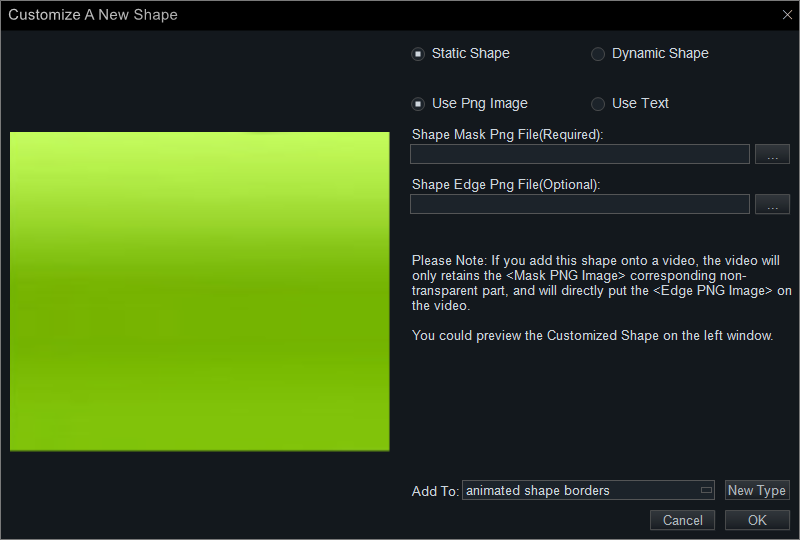
In this operational screen, we’ll make frames of *.png images into animated shape borders from the materials prepared before.
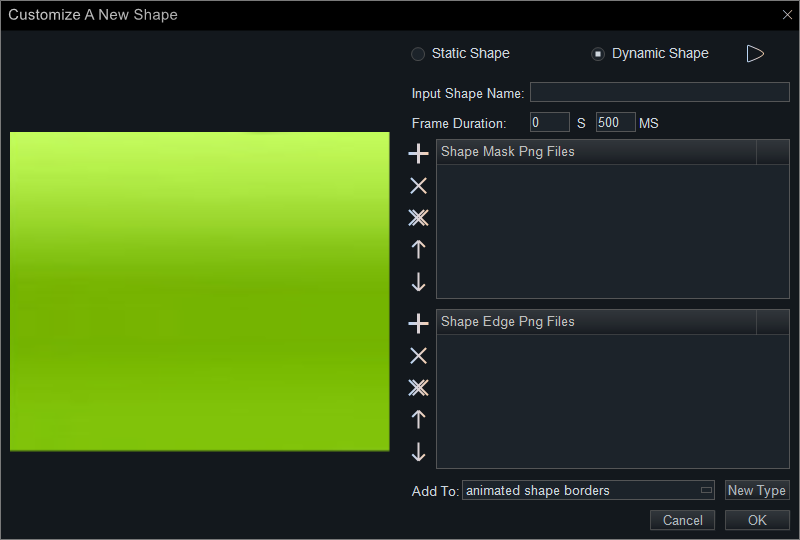
Step 3: Since we are making animated borders, so we have to choose the “Dynamic Shape”, and the pop-out window looked like this.
Step 4: Name the shape border with a number(only number accepted) in the column “Input Shape number” ![]() .
.
Step 5: Set a proper duration for each frame that we recommend a time horizon from 40 to 50 ms. We set a certain interval between each frame as 40 ms like this .
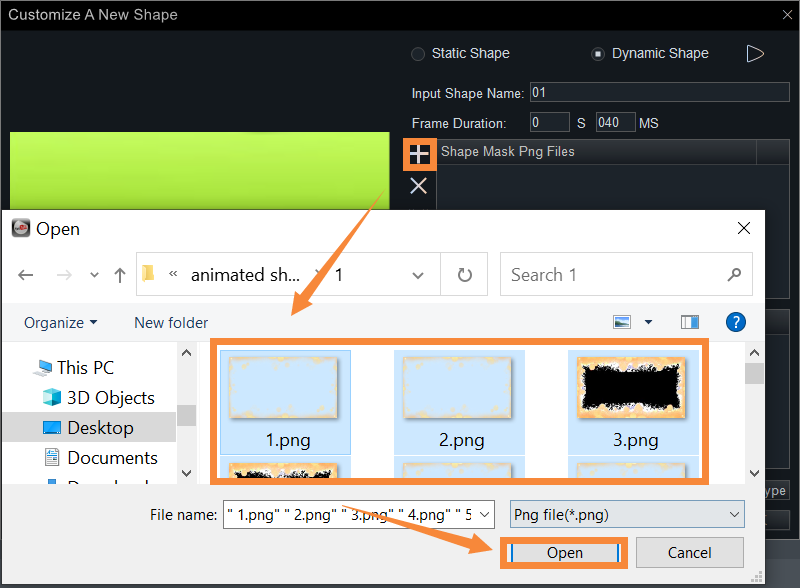
Step 6: Click the plus belonged to the “Shape Mask Png Files” window to local upload the frames of images.
And then, you’ll see the shape border in the left part of the customized operational screen.
Step 7: You can click the hollow triangle at the upper right corner to preview the dynamic effect.
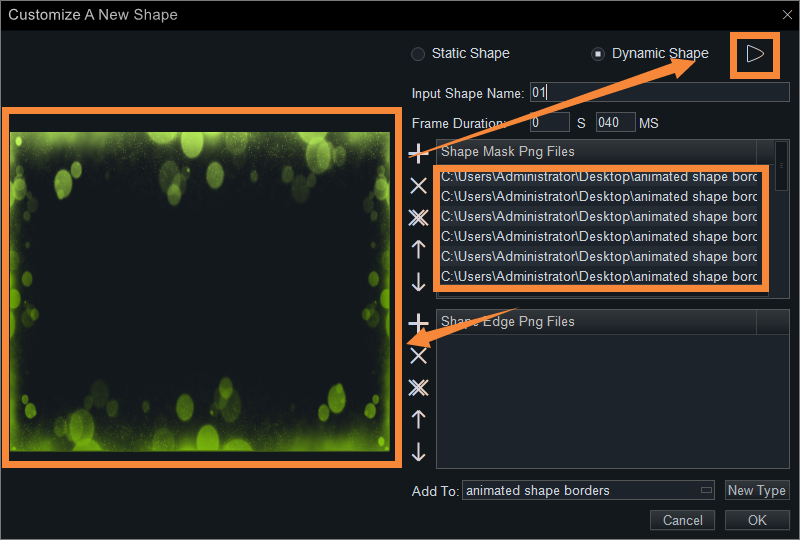
If the movement speed is not proper, you can amend the frame duration immediately. And click the hollow triangle again to pause the preview.
Step 8: Click “New Type” to classify it into a new folder that you name it.

Or you can add it to one of the existed groups by clicking the column “Add To” ![]() .
.
Finally, click “OK” to exit the window.
Video Tutorial:
How to use the animated shape borders?
What can you do with these animated shape borders?
In the following part, I’ll show you several examples of the use of them.
You can use them in Intro/outro video to emphasize the brand, logo, text, etc..
To emphasize the logo/brand.
You can add them to the logo only in the intro/outro video.
You can add them to your logo through the whole video.
You can add them to make your brand outstanding in the intro/outro video.
To emphasize the text.
You can use them to give blessings, to give tips, to give explanations, to make digital invitations, so on and so forth.
Animated Borders Download:
Give blessings to someone’s birthday
Give tips on the travel to someplace
Give explanations on self-introduction
Wedding invitations
Lyrics border
T
You can simply use them as video elements.
Animated Shapes Download:
You can use them to make cool special effects like spanning time and space.
Massive examples on animated shapes and shape borders are coming. Learn how to make a digital wedding invitation step by step.
Waiting for you to create wonderful videos with the help of animated shape borders.


