YouTube Movie Maker is built-in with a free, powerful, and easy-to-use Karaoke/Lyric Video Maker which provides a lot of functions. Here you can view a detailed explanation of these functions.
Program main UI
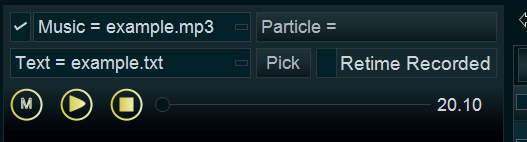
1. Select a source music/audio file

Click to select a source music/audio file for making your karaoke video or lyric video.

If you don’t have music/audio file, or you want to make a typography video without music/audio, you can simply uncheck this option.
2. Particle Effect
You can click the “Particle =” button to enable or disable the particle effect on your lyric video. The program provides a lot of particle effects, you can use them to make your video more interesting.
3. select a txt file that includes all the source lyrics

In this txt file, you need to put different lyrics into different lines, with each lyric sentence in its own line.(one lyric sentence one line, like below pic)
4. Un-Pick unnecessary lyrics from the source txt file

Sometimes, we don’t want to add all the lyrics from the source txt file. We can simply click this button to un-pick unnecessary lyrics from the source txt file(like below pic)
5. Retime recorded lyric sentence

Check the “Retime Recorded” option, then select a lyric sentence in the right table, then click the “Start to record” button. Then you can re-sync the lyrics and music of the selected lyric sentence. (We don’t recommend doing fine adjustment by using this method.)
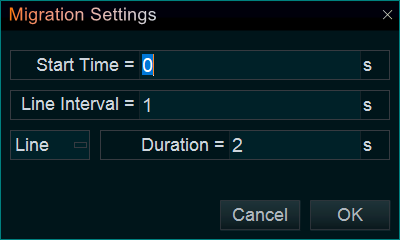
6. Migrate

Click this button to quickly migrate all text from txt file to the program without syncing the music and text. It is usually used to produce a text video with constant speed display.
7. Start to record

Once you’ve selected a lyric txt file and a music/audio file, you can click this button to sync the music and lyrics.
8. Stop recording

If you need to stop recording, you can simply click this button.
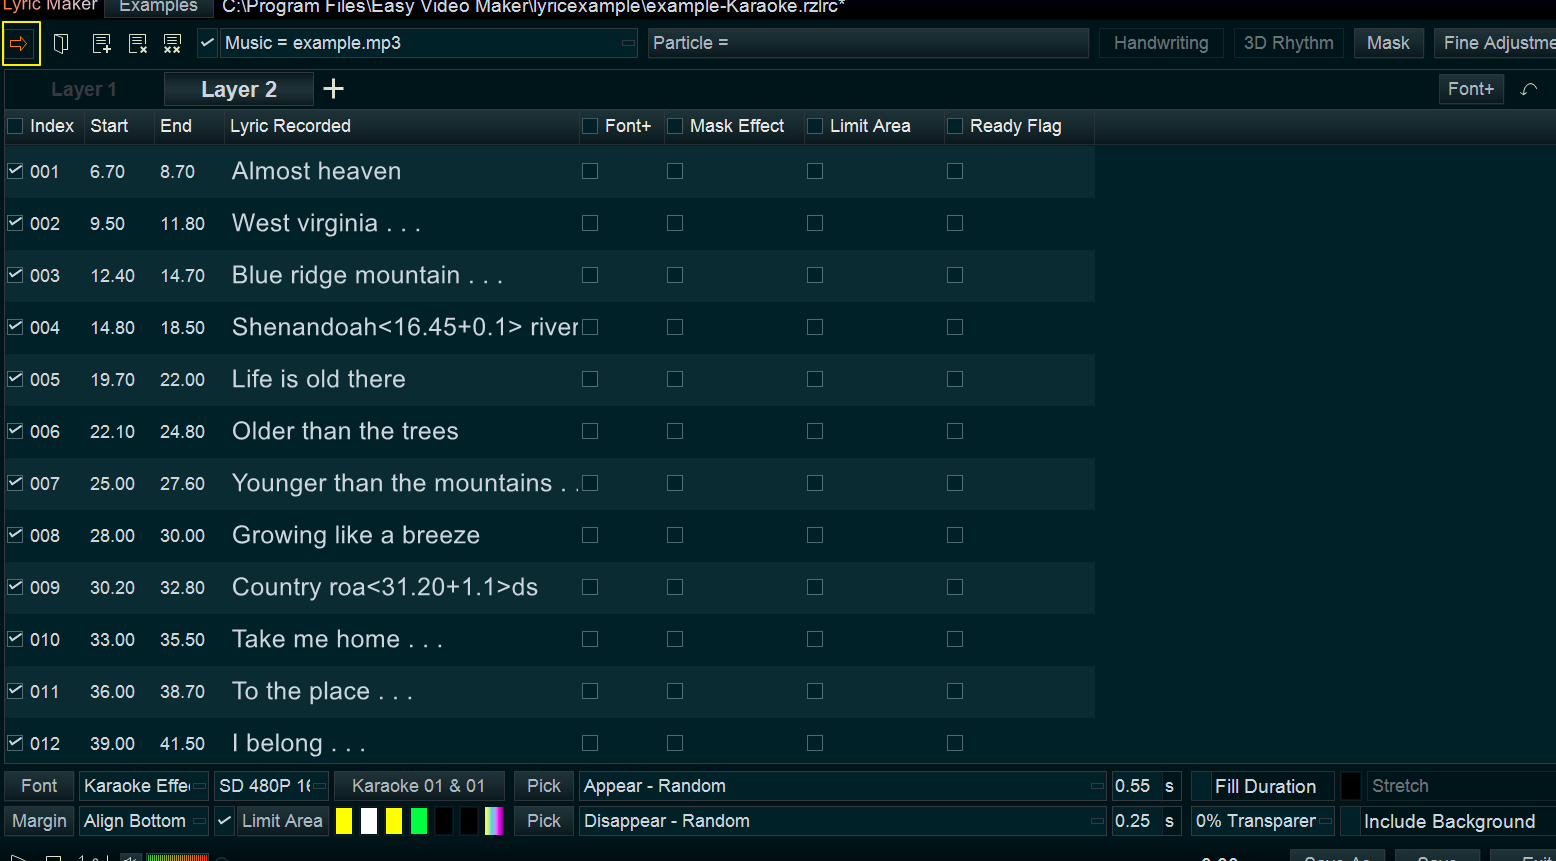
9. Global Font button

Click the lower right Global “Font” button to set the Global font for all lyrics lines.
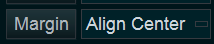
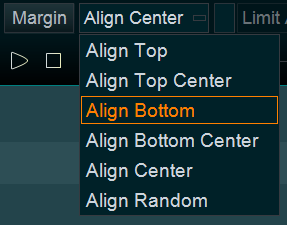
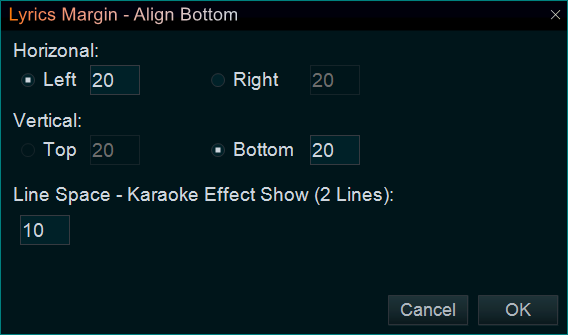
10 and 11. Alignment mode and margin settings
You can click right combo box to select a Alignment mode,
If you need to adjust the margins, you can click “Margin” button to set margins.
12. Set the Target resolution of this lyric file

13. Select a display type
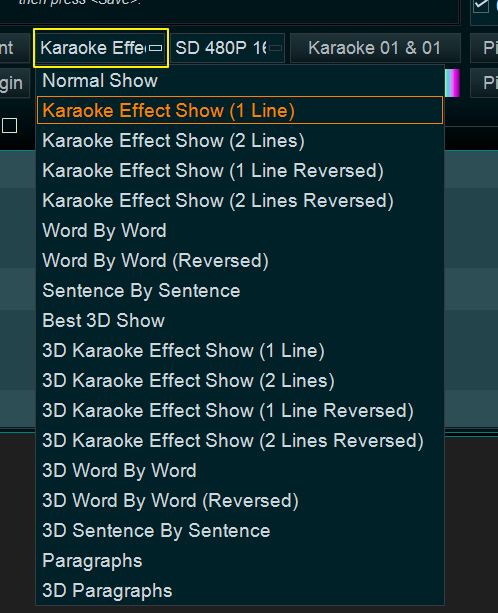
14 and 15. The sub-type of “Karaoke Effect Show” type
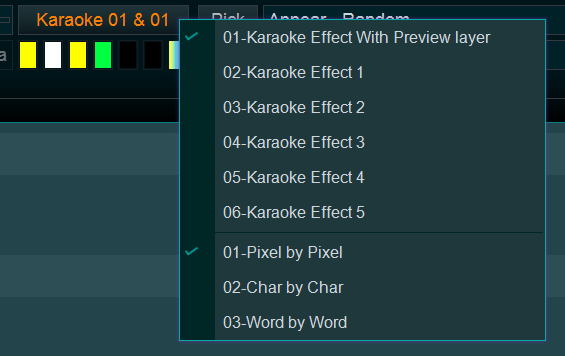
If you select “Karaoke Effect Show” type, here you can set the sub-type of karaoke effect, such as Pixel by Pixel scanning, Char by Char scanning, Word by Word scanning, etc.
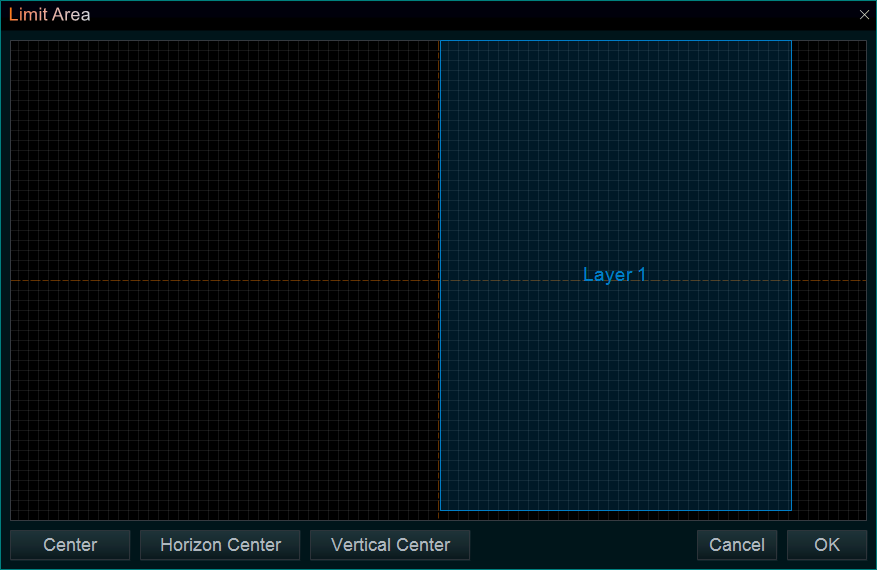
16. Limit Area
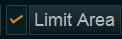
You can check and click the “Limit Area” button to control the display area of the current layer.
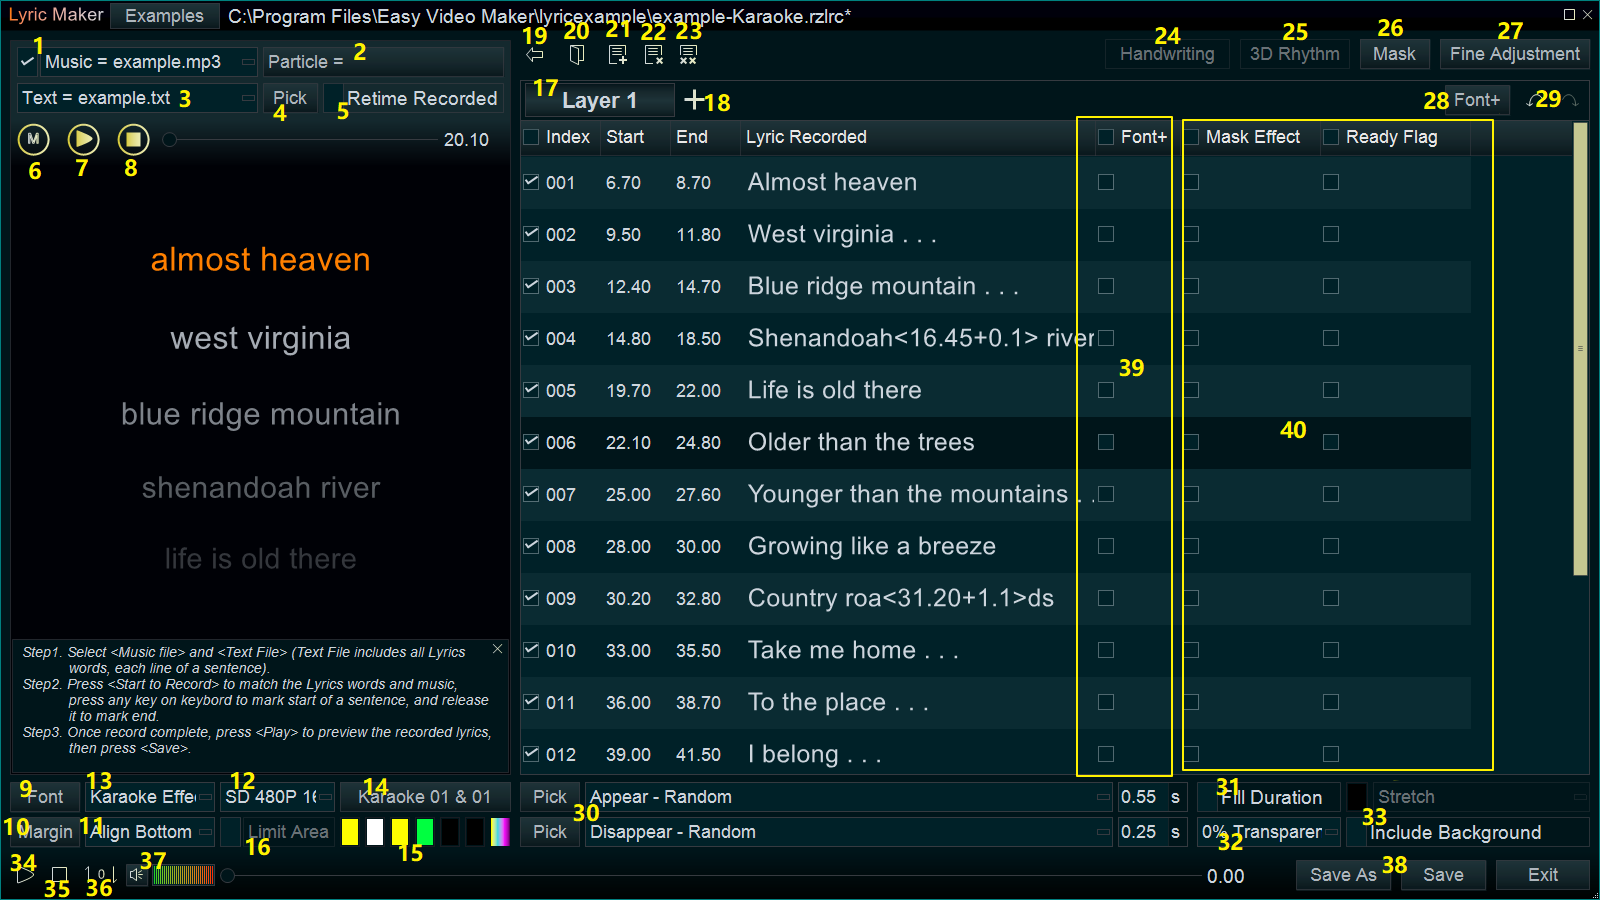
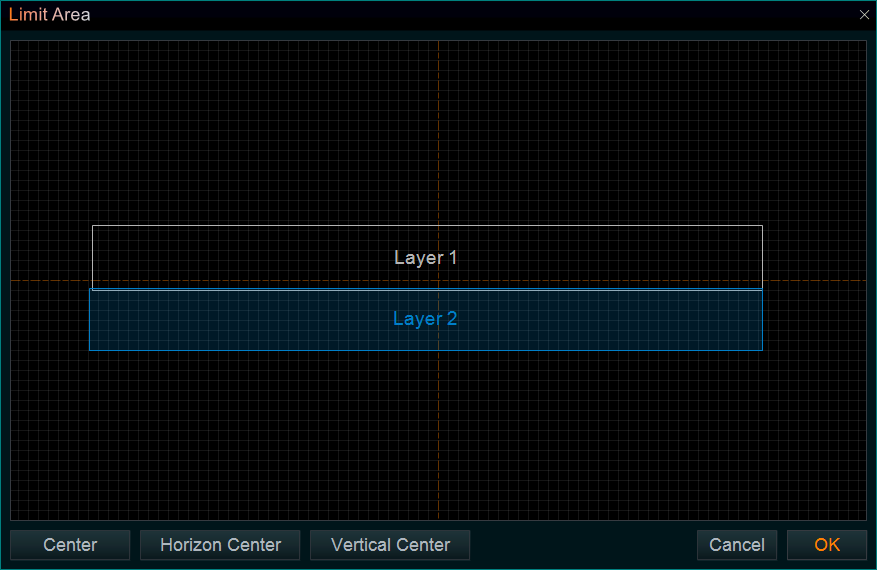
17 and 18. Layers

Sometimes we need multiple layers for making a lyric video, for example, Layer 1 for males, Layer 2 for females, etc. We can simply click the little “+” button to add layers. We can click the Layer tab to select the corresponding layer, and set the different styles to different layers ( type, font, limit-area, everything…).
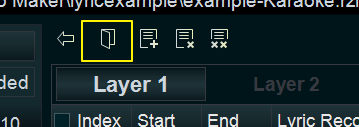
19. Expand the lyrics table

we can simply click this button to expend the area of lyrics table.
20. Expand the lyrics table
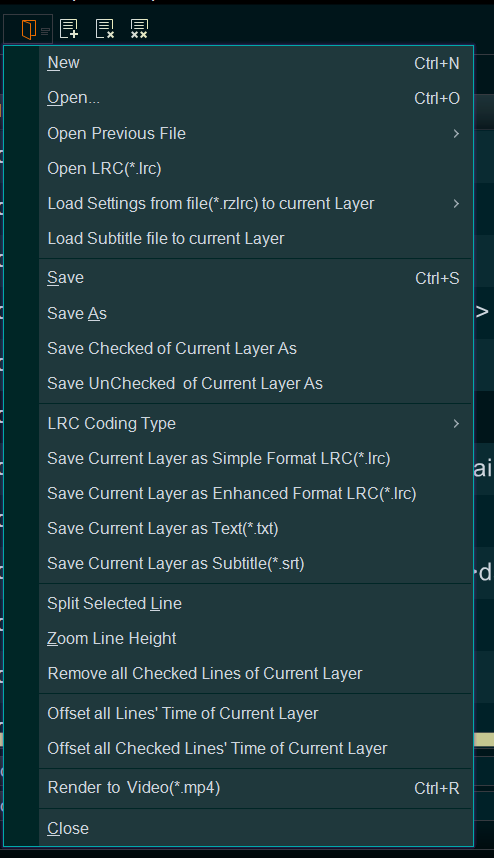
we can simply click “File” button to access the file menu, here we can create new lyric file, open the lyric file, loading settings from other lyric file, save lyric file, quickly offset lines’ time, quickly render lyric video without editing it in the program main UI, etc.
21, 22 and 23. Add or delete lines in the lyric table
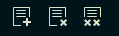
Add new lines to the lyric table, delete lines in the lyric table, delete all lines in the lyric table.
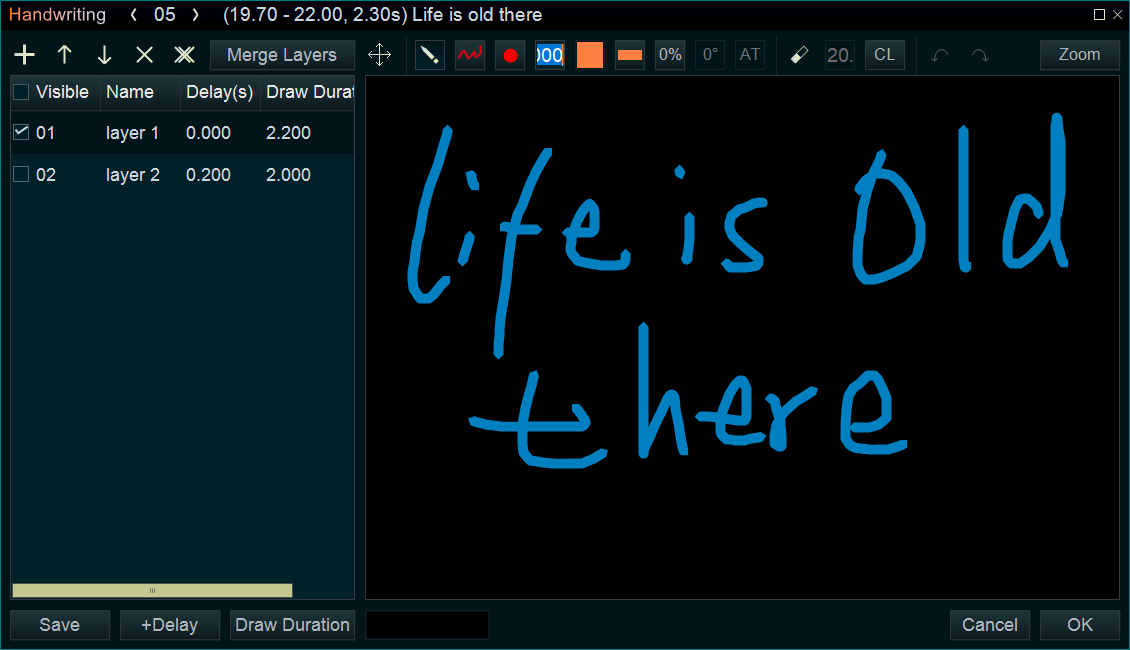
24. Handwriting lyrics
If you select “Normal Show, Word by Word, Sentence by Sentence, or Best 3D Show” type, you can click the “Handwriting” button to hand write the lyrics.
25. 3D Rhythm
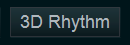
If you select “Best 3D Show” type, you can click the “3D Rhythm” button to set the rhythm of 3D lyrics.
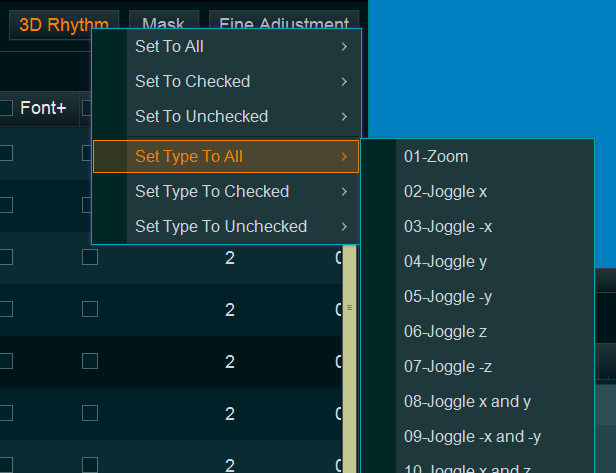
26. Mask effect

You can click “Mask” button to add mask effect to all lyric lines or selected lyric lines.
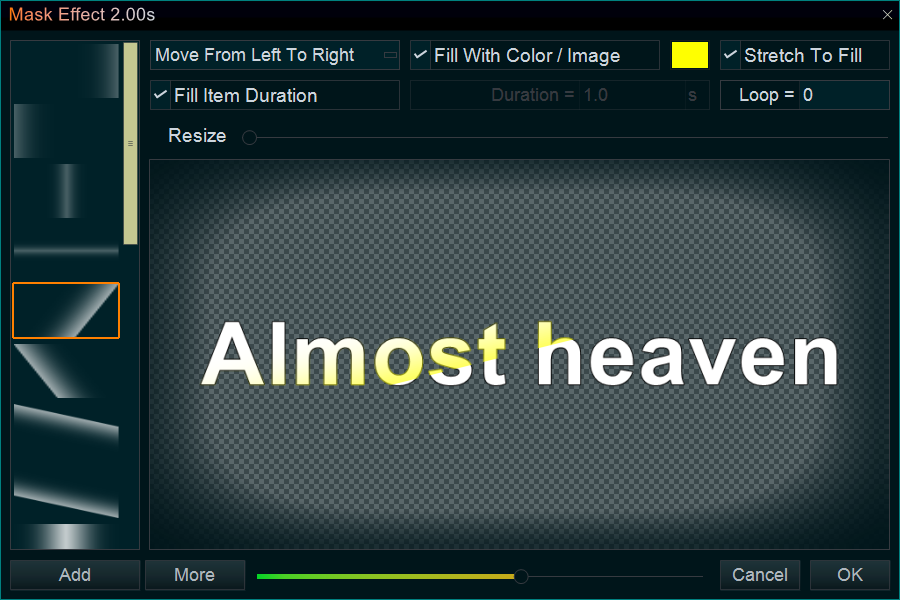
28. Font+
If you need to set a new font ( which is different from the Global font ) to multiple lyric lines, you can simply select (check them ) these lyric lines in the lyric table first, then click this button to set the new font to these lines at the same time.
29. Redo and Undo

You can redo or undo your operation in the “Lyric Maker” module.
30. Set Appear or Disappear motion effect to lyric lines.

You can click the “Appear Combo box” to select an appear motion effect, and click the “Disappear Combo box” to select a disappear motion effect. And input the duration time of these motion effects. If you select “Appear – Random” or “Disappear -Random”, you can click the corresponding Pick button to un-pick the motion effect you don’t like.
31. Full Duration
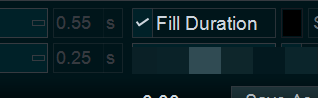
If you check the “Fill Duration” box, the program will use the Appear/Disappear motion effect to fill the entire lyric line. The duration time of Appear/Disappear motion effect will become invalid.
32. Transparence
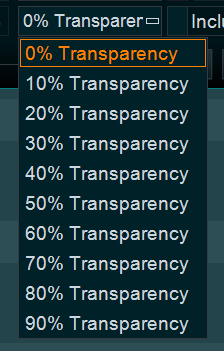
Here you can set the transparency of the lyrics.
33. Background settings
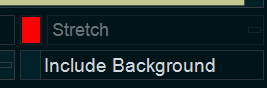
Here you can set the background of the lyric video, you can use color, image, or video footage as background of the lyric video. If you check the “Include Background” option, the background settings will be saved to the lyric file(*.rzlrc). If you uncheck the “Include Background” option, the background settings won’t be saved to the lyric file(*.rzlrc). And you can back program main UI, then add background in the Timeline.
34. Preview lyric video

Click this button to preview the current lyric file.
35. Stop previewing

Click this button to stop previewing
36. Change Audio Pitch

Click this button to change the audio pitch of the music/audio file. Easily change male sound to female sound, or change female sound to male sound.
37. Volume
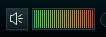
Here you can disable or turn up/down the volume when you preview the lyric video.
38. Save, Save as, Exit

Here you can save the lyric file(*.rzlrc), or exit the “Lyric Video Maker” module.
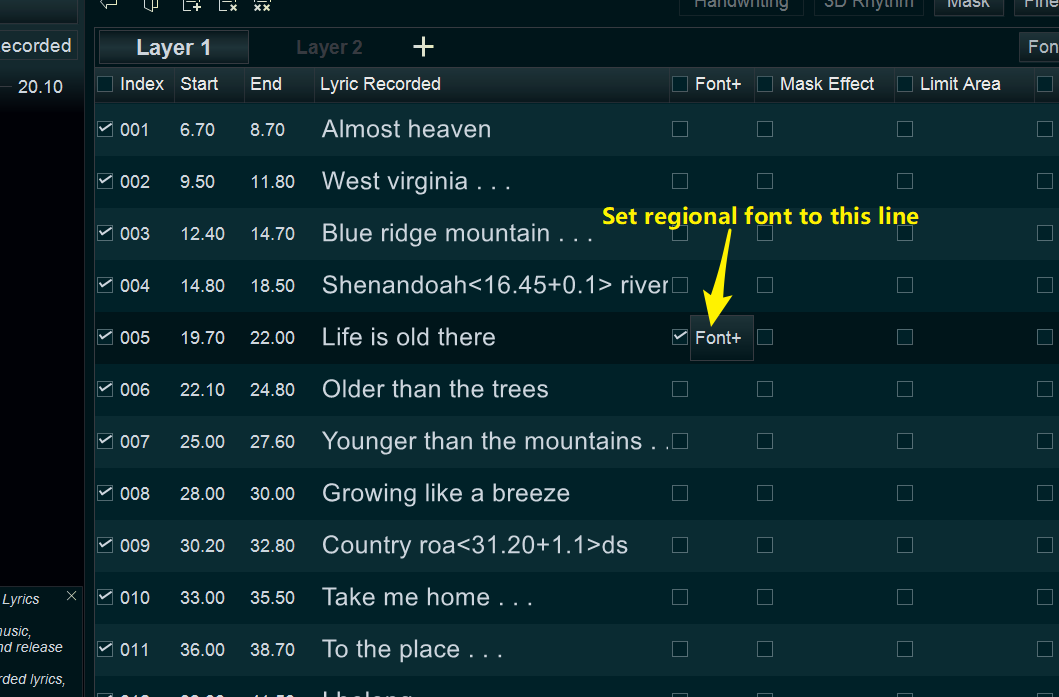
39. Regional font settings
If you need to set a different font to a lyric line, you can simply check and click “Font+” option of this lyric line to set regional font. The regional font settings will overwrite the global font settings.
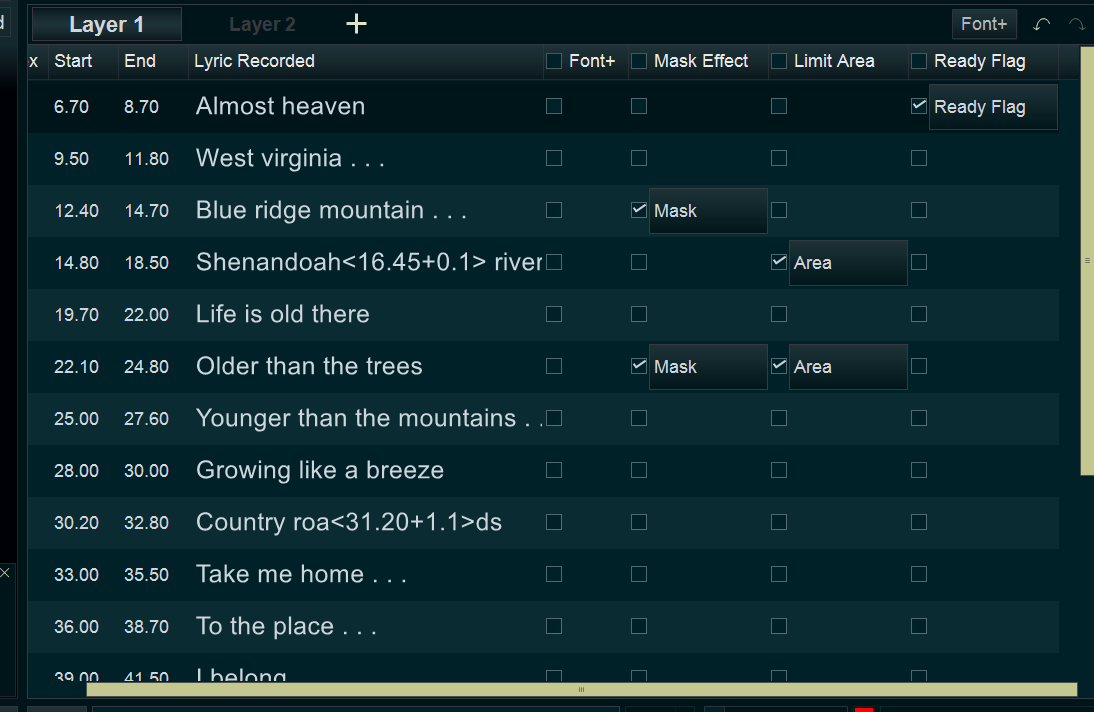
40, 42, and 44. Regional settings
If you like, you can add any regional settings to some lyric lines. For example, mask effect, limit area, ready flag(karaoke effect show), Word Layout(word by word), 3D settings(Best 3D Show), etc. The regional settings will overwrite the global settings
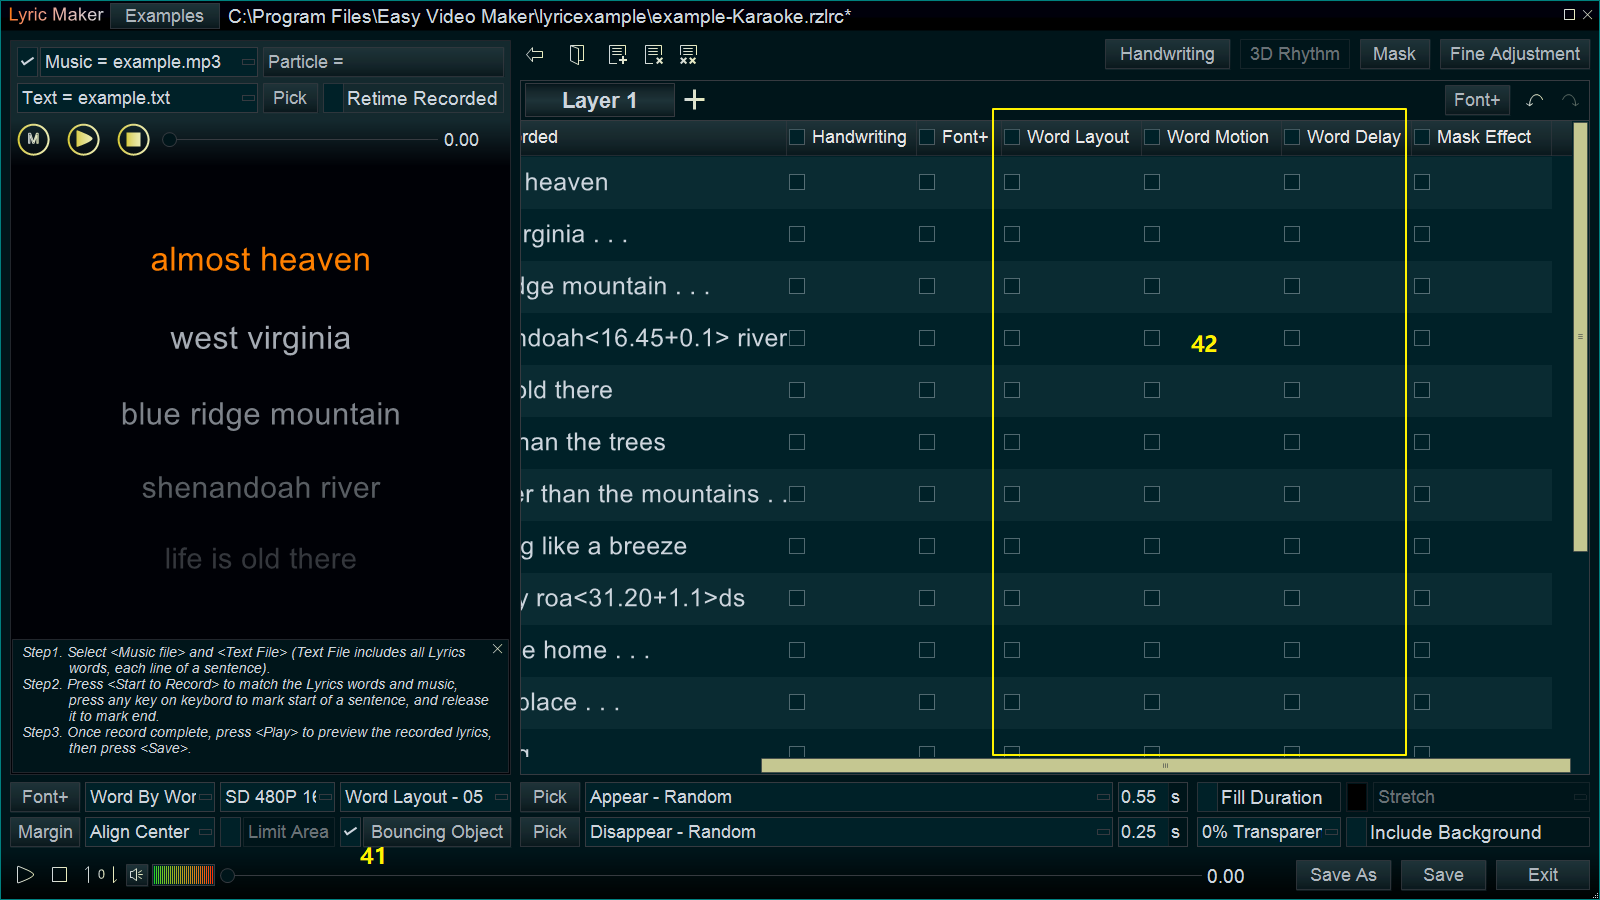
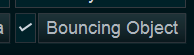
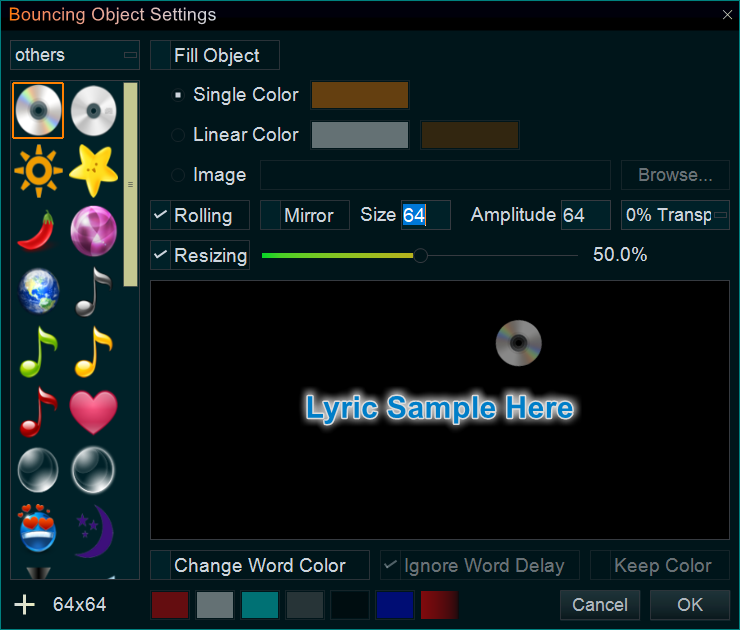
41. Add “Bouncing Object”
If you select “Word By Word” or “Paragraph” type, you can add the “Bouncing Object” to the lyric video. For example, add a “Bouncing Ball” to the lyric video
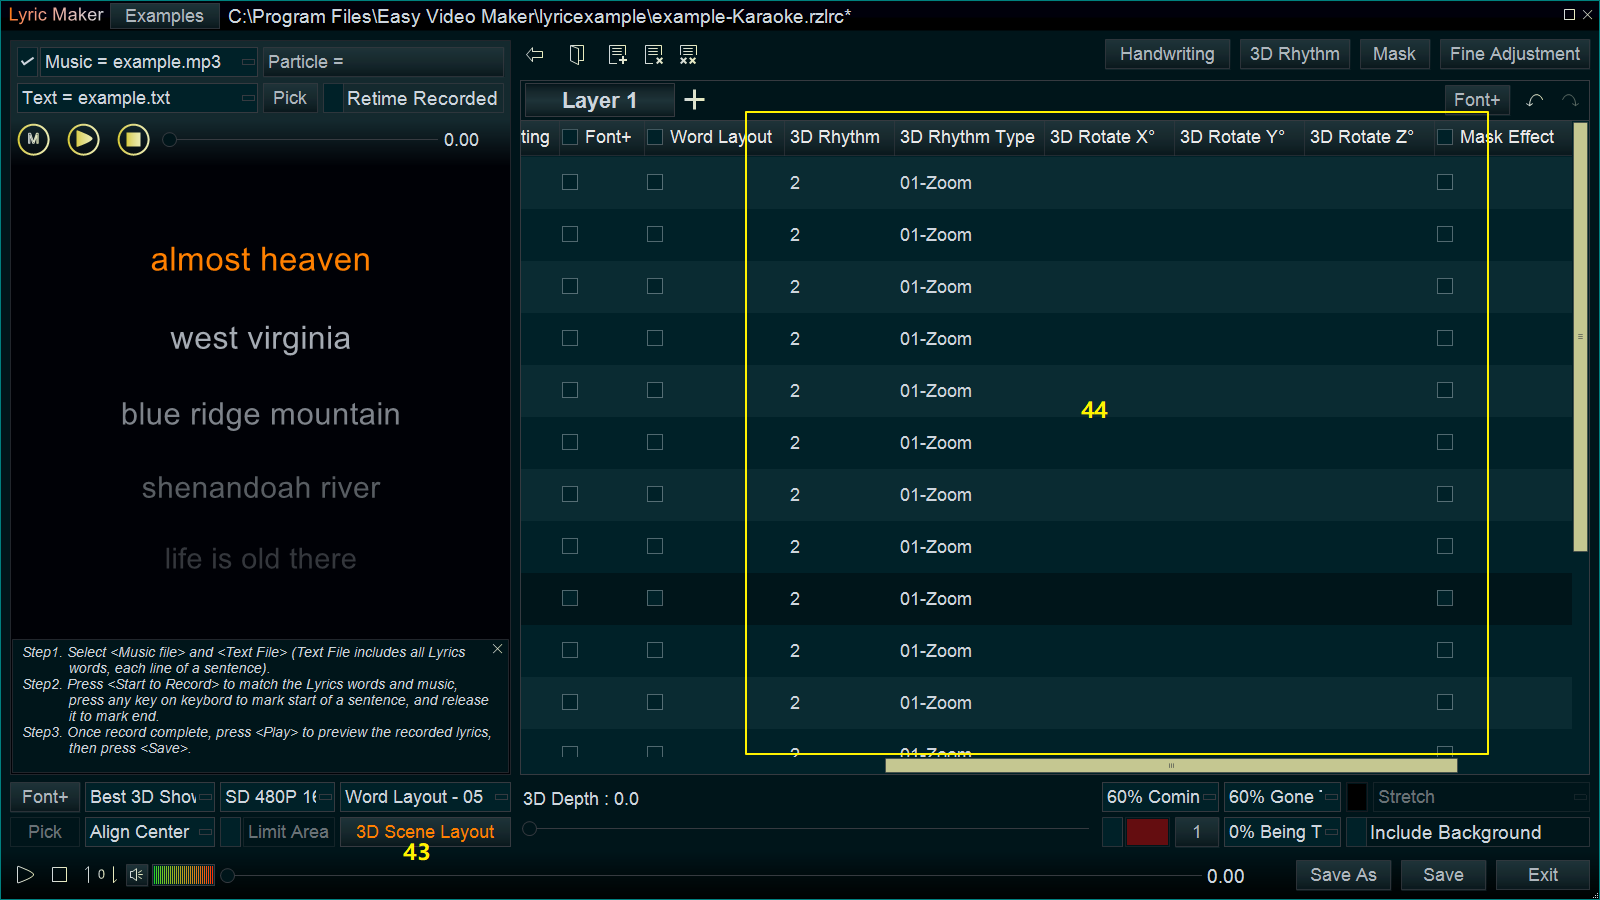
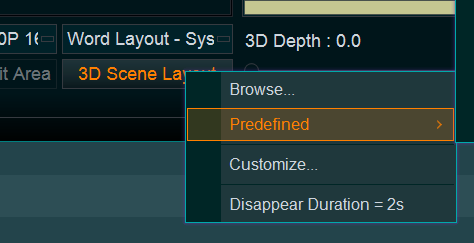
43. 3D Scene Layout (Best 3D Show)
If you select the “Best 3D Show” type, you can click this button to set the lyric styles in the 3D scene. You can use the predefined style or customize a style if you are professional.
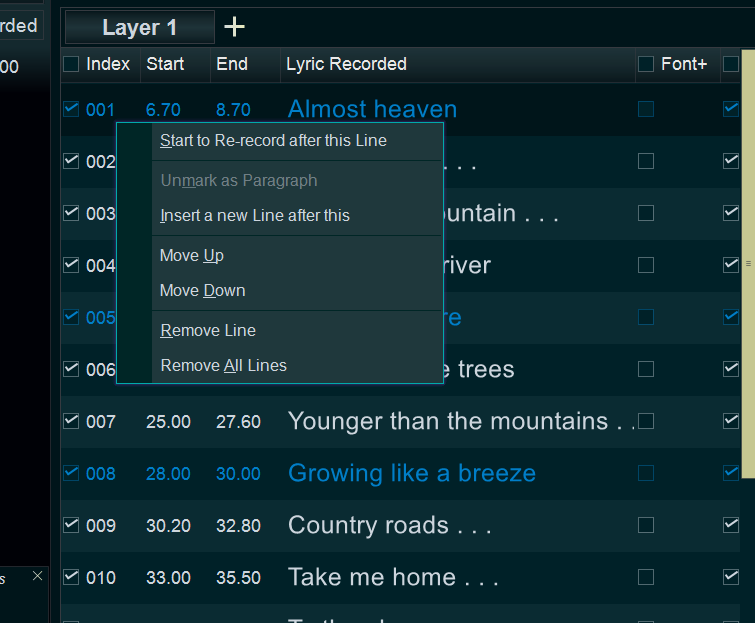
45. Mark Paragraph (Paragraphs type)
If you want to show multiple lyric lines on a same screen. You need to select “Paragraphs” type, then you can right-click the lyric line and select “Mark/Unmark as Paragraph” to mark the first lyric line of every paragraph ( the blue lyric lines ). All lyric lines of a paragraph will be displayed on a same screen.
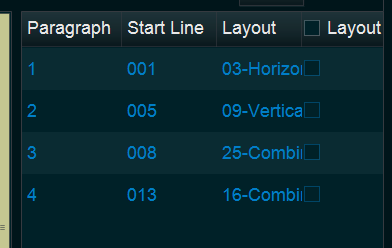
46. The list of all paragraphs (Paragraphs type)
Here you can view all paragraphs and their settings
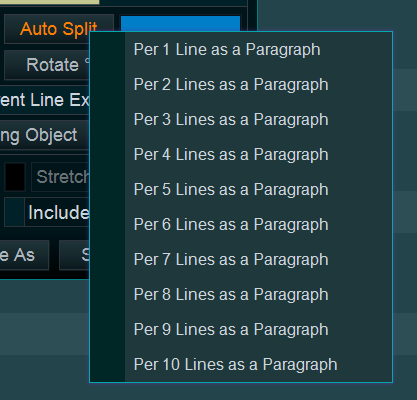
47. Auto Split paragraphs (Paragraphs type)
If you don’t want to manually mark paragraph, you can simply click this button to quickly split paragraphs.
48. Marking color of paragraphs (Paragraphs type)
Here you can set the Marking color of paragraphs. By default, it’s blue.
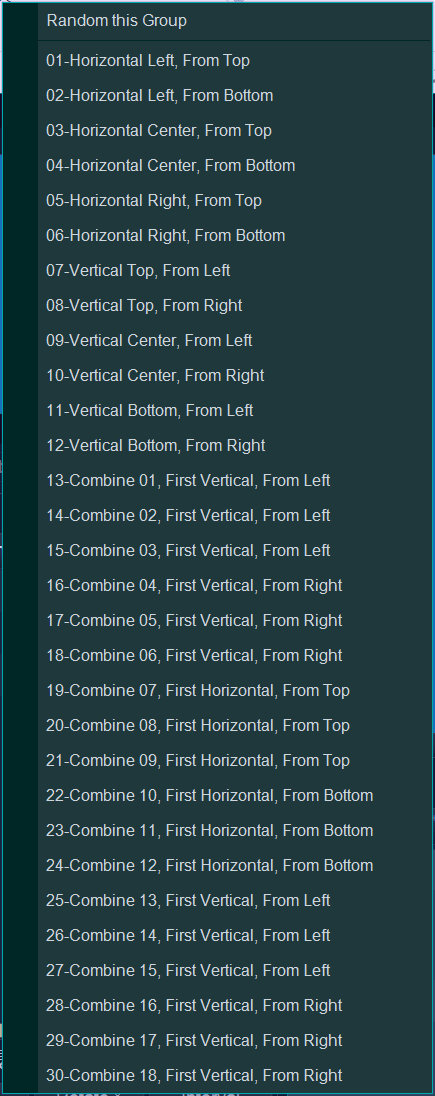
49. The layout of paragraphs (Paragraphs type)
You can click this button to set the displaying layout of all paragraphs
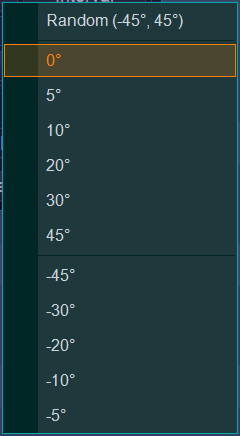
50. Rotate (Paragraphs type)
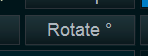
You can click this button to set the rotating angle of all paragraphs
51. Interval (Paragraphs type)
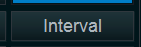
You can click this button to set the interval of every lyric sentence in all paragraphs.
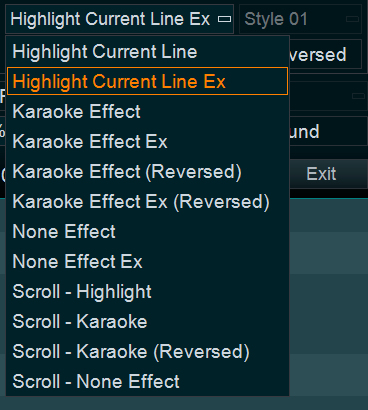
52. The sub-types of Paragraph type (Paragraphs type)

Here you can select a sub-type of Paragraph type.
53 and 54. Add “Bouncing Object” in Paragraph type (Paragraphs type)

In “Paragraphs” type, if you select “Highlight….” or “None…” sub-type, you can add the “Bouncing Object” to the paragraphs. Check the “Reversed” option to make the “Bouncing Object” jump from right to left.


