When we make a YouTube video, sometimes we need to draw something on the video or highlight the certain area to attract the attention of viewers. For example, when making educational videos, we usually need to highlight some important knowledge points, etc. If you don’t know how to do that, you can easily use YouTube Movie Maker to draw anything or mark/highlight certain area on a video, here is a simple guide.
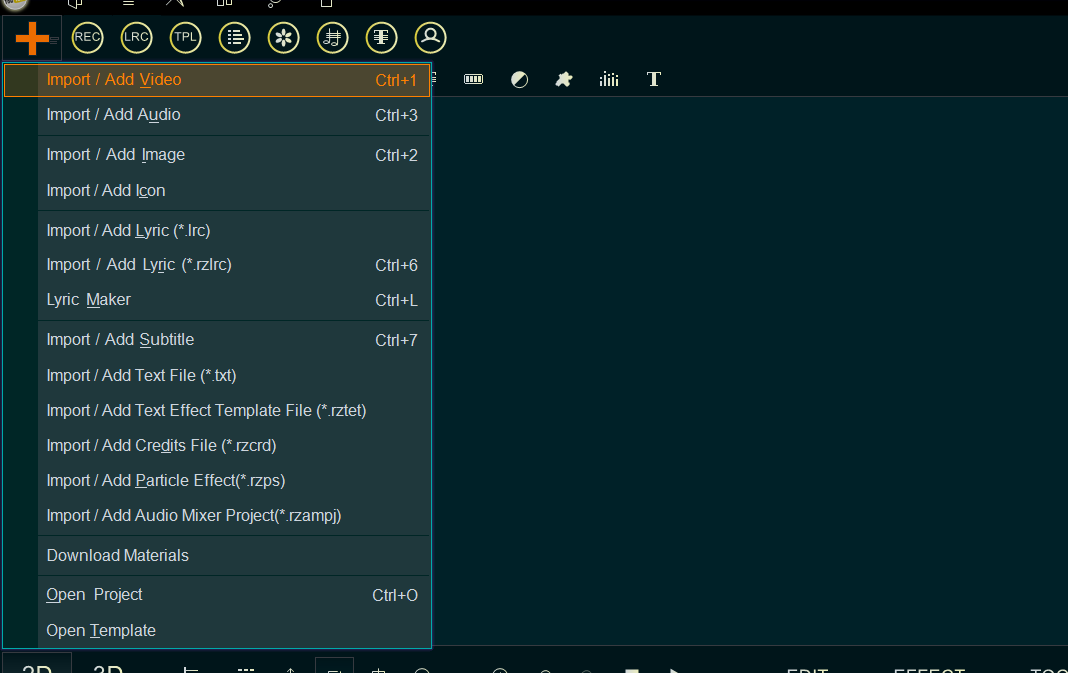
Step 1, Import your source video you want to draw something or mark/highlight certain area.
You can click the upper left Plus button then select “Import/Add video“, or use the shortcut key “Ctrl+1” to import the source video file. Or directly drag and drop the video file into YouTube Movie Maker.
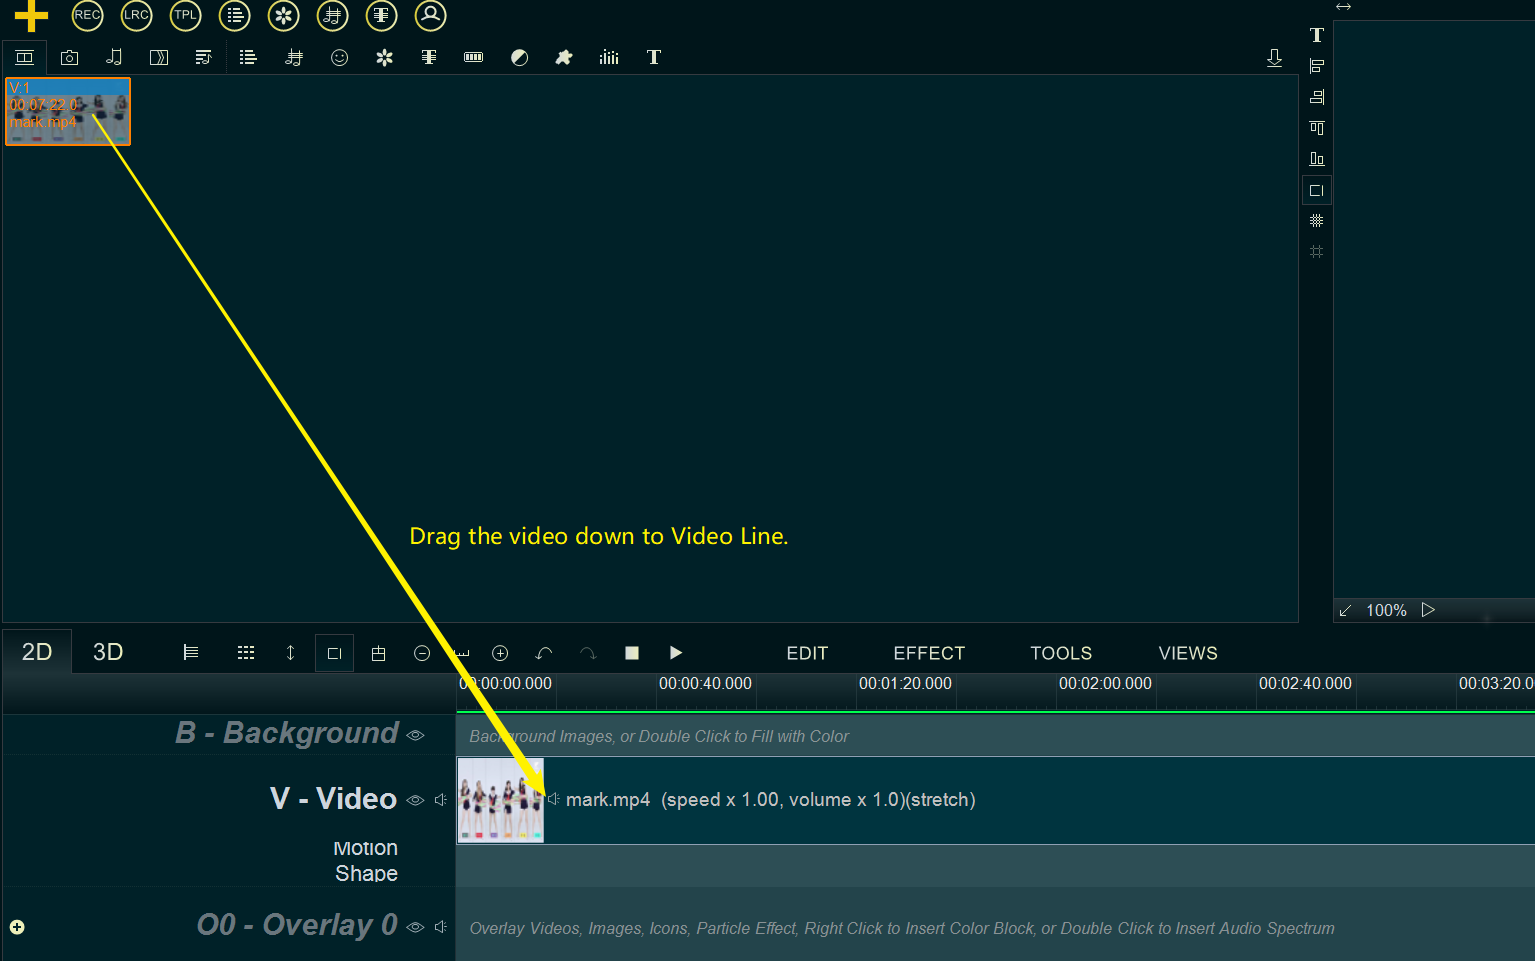
Step 2, drag the video down to the Video Line.
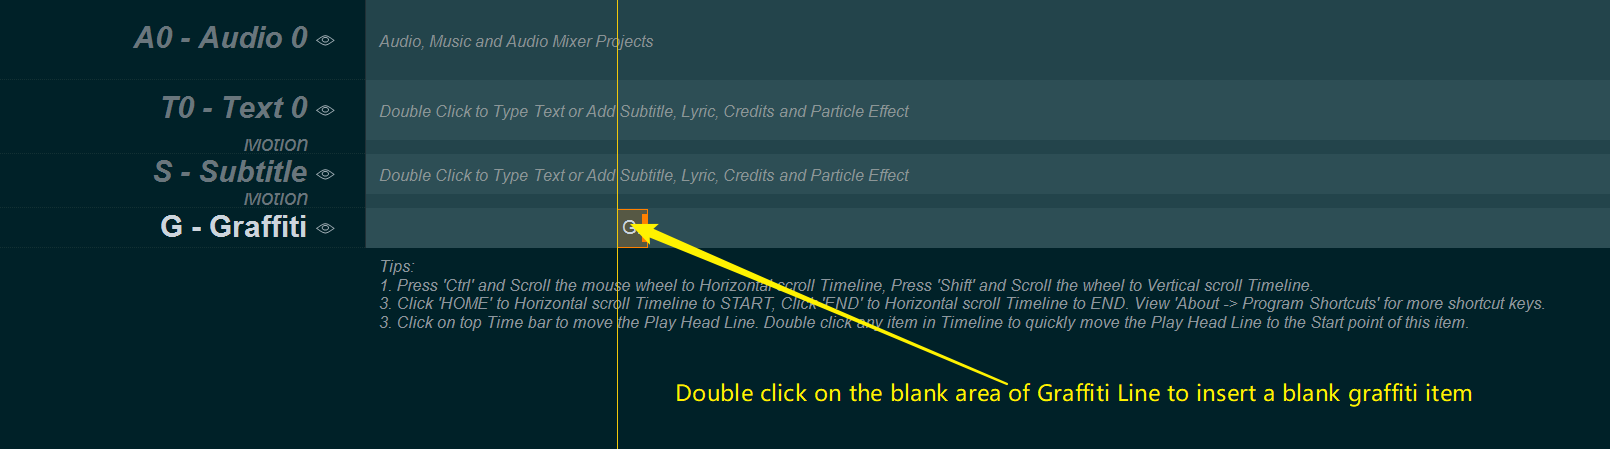
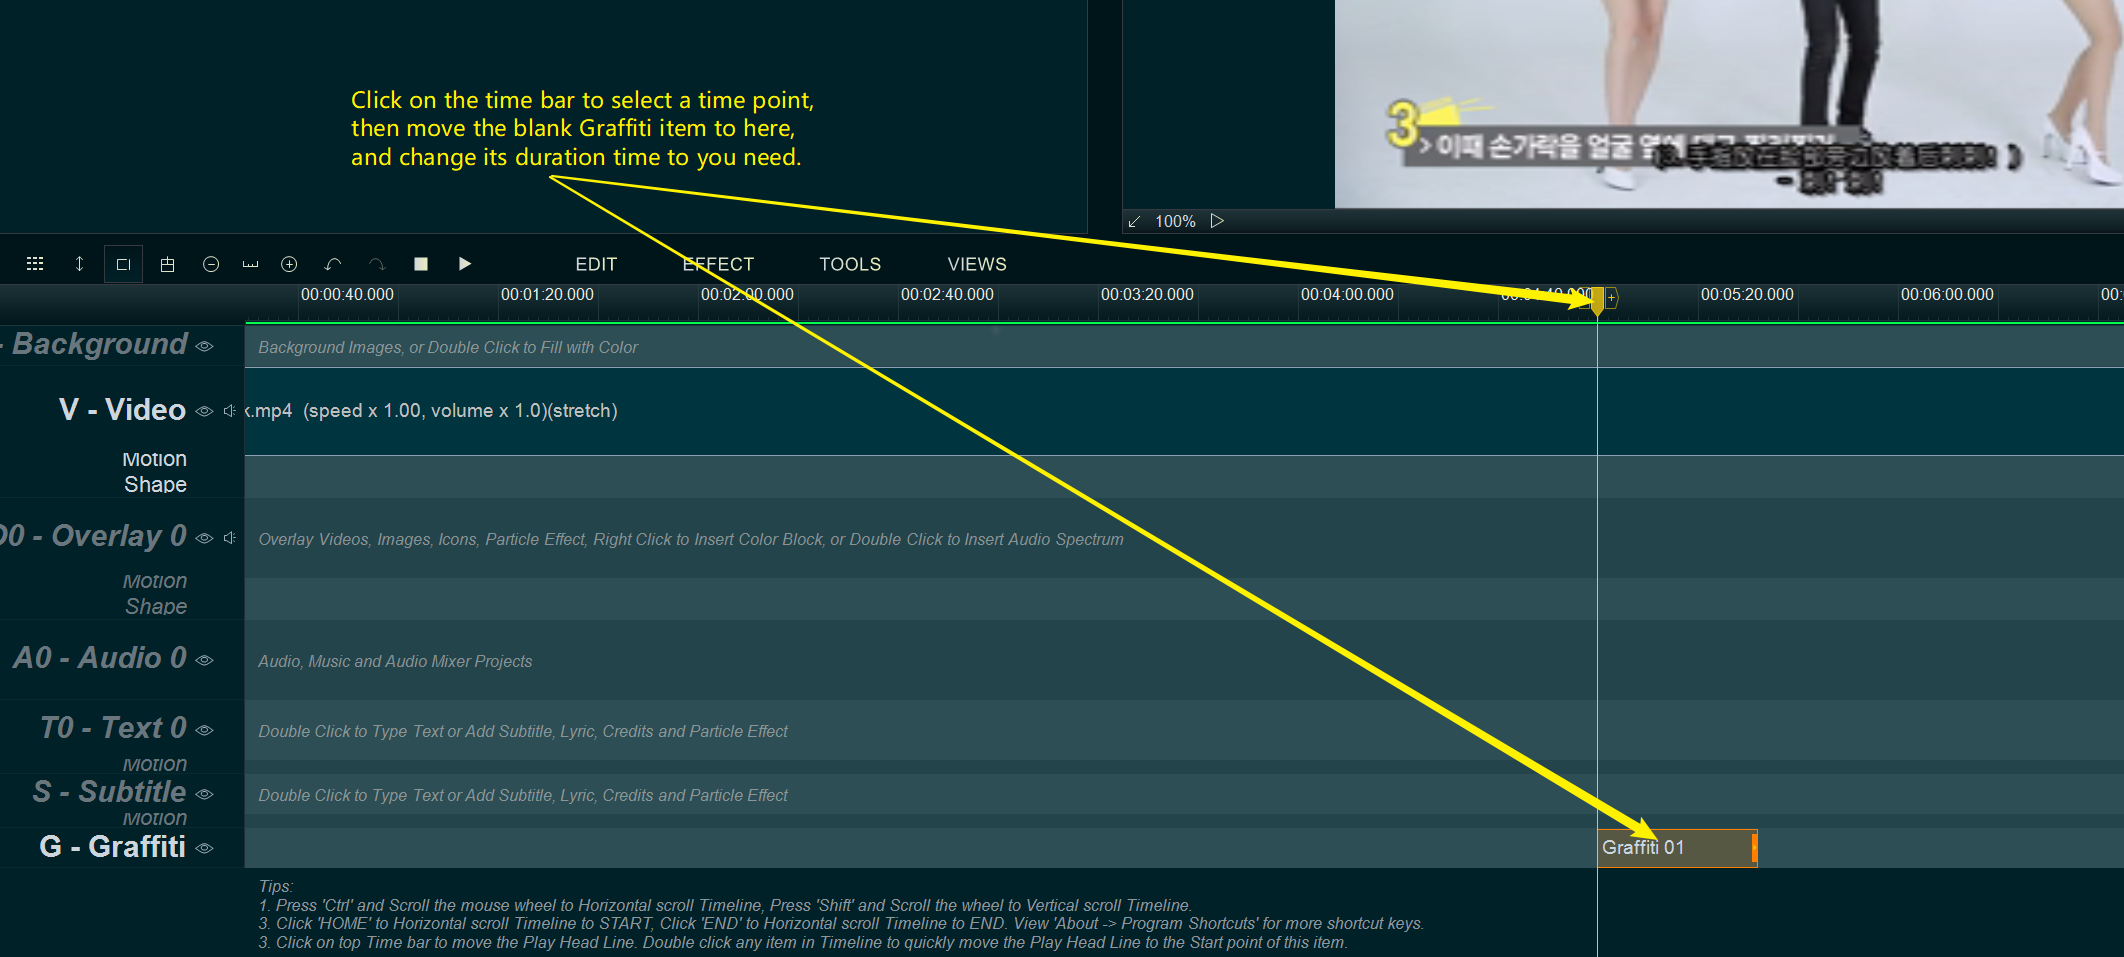
Step 3, Double click on the blank area of Graffiti Line to insert a new blank Graffiti item.
Step 4, Move the blank Graffiti item to the time point you want to mark or highlight on the video, and change its duration time to you need.
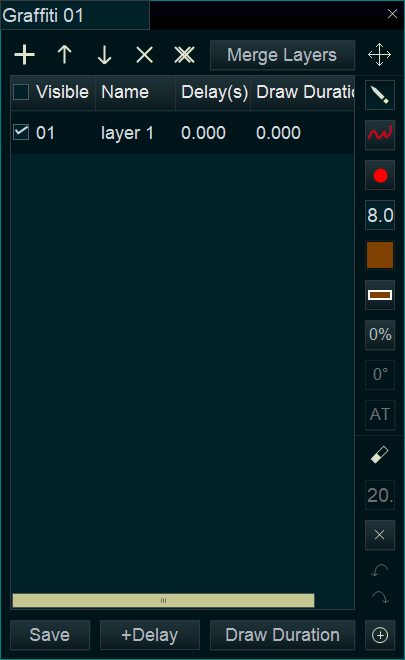
Step 5, Double click on the blank Graffiti item, the program will pops up a Graffiti Tool window,
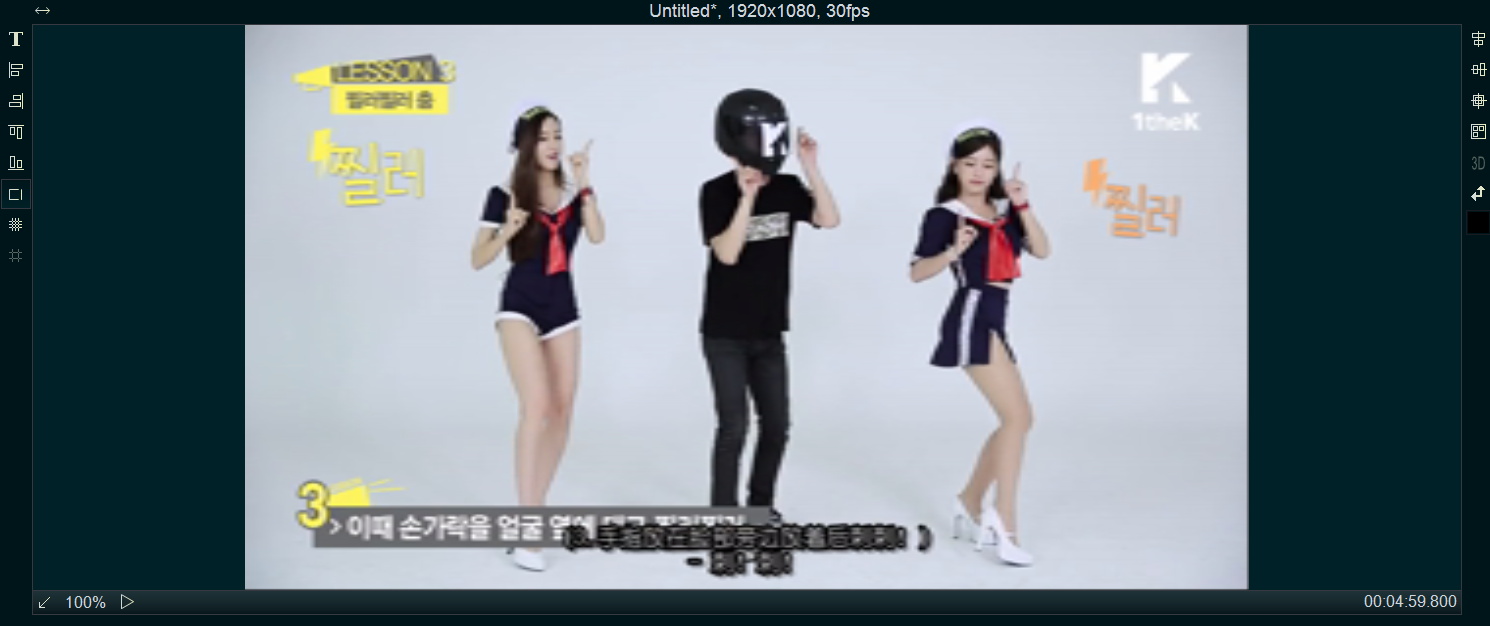
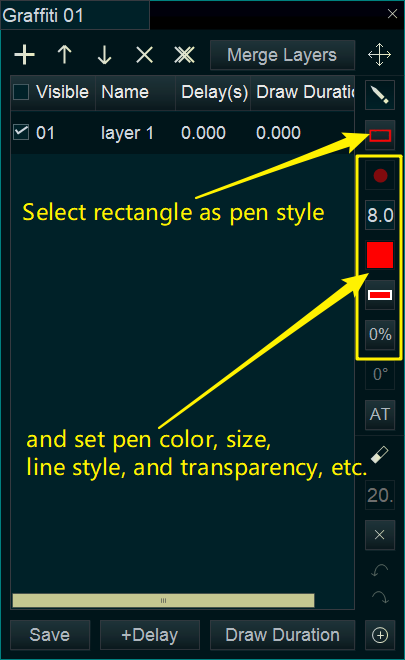
now you start to draw something or highlight certain area in the upper left “Preview/Editing” window directly.
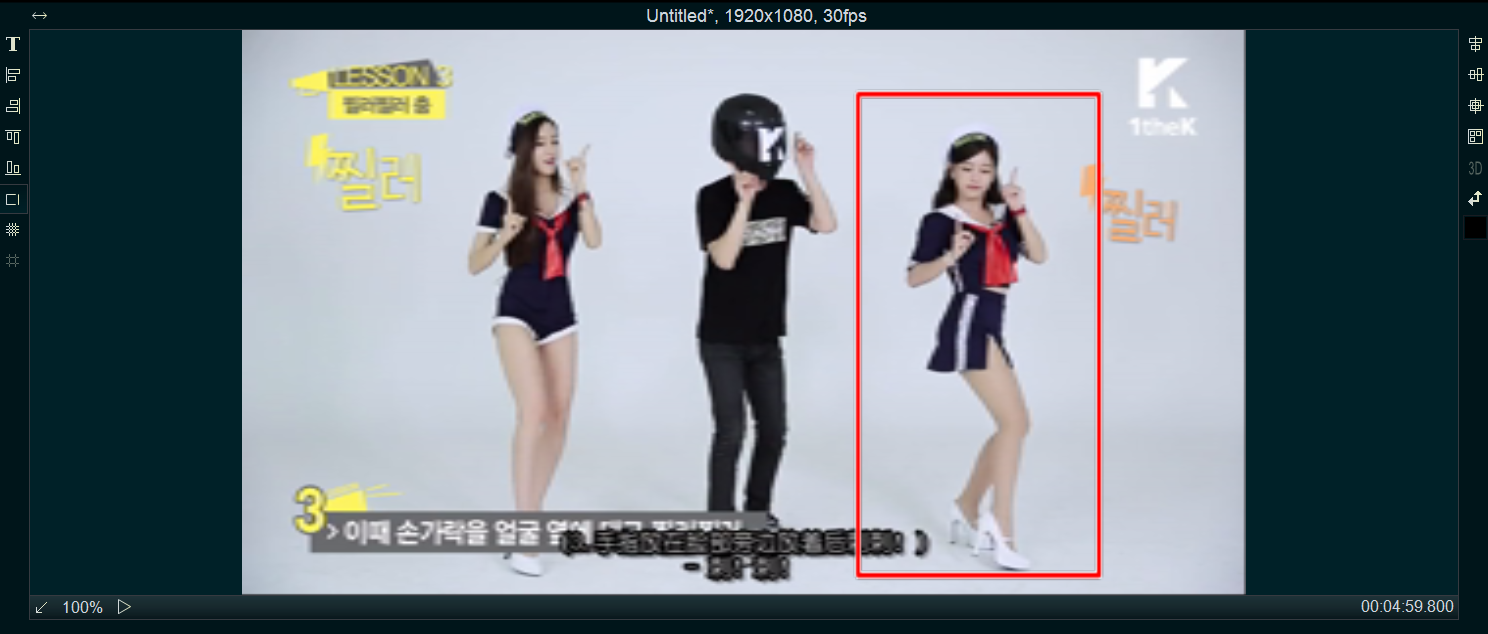
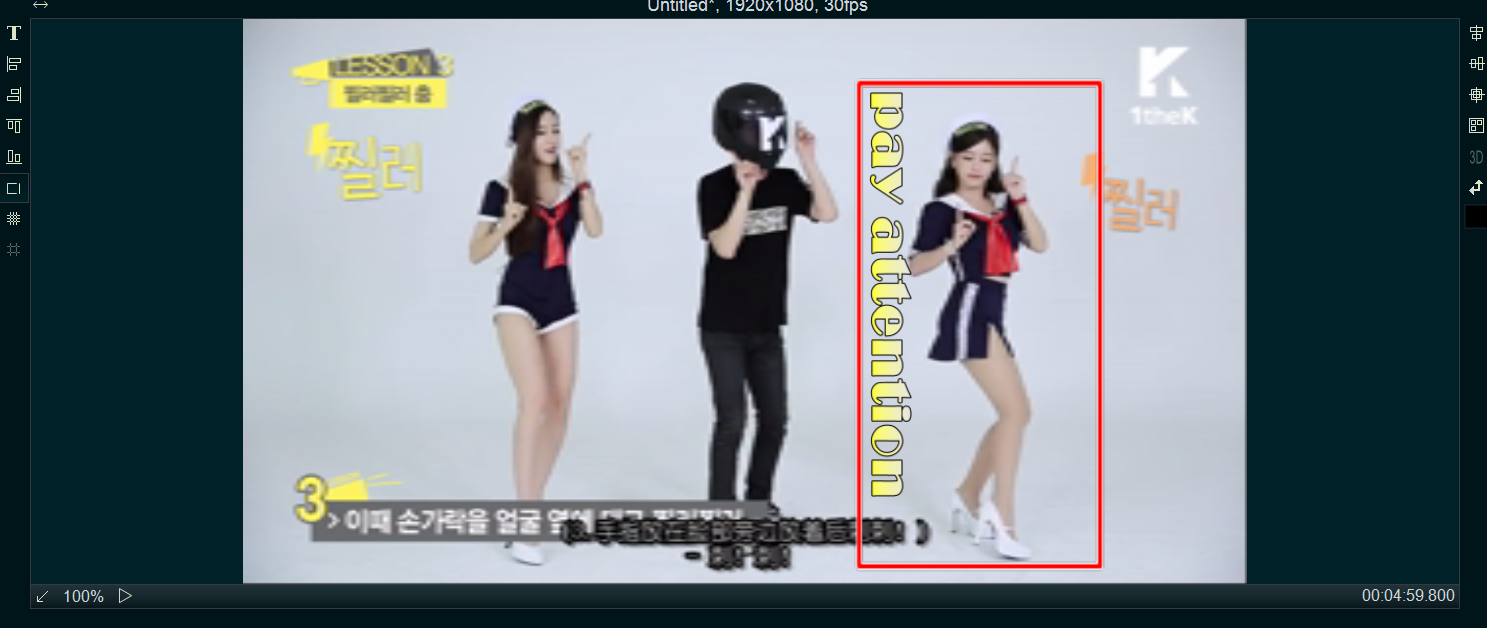
For example, here we will mark the person on the right with a red rectangle.
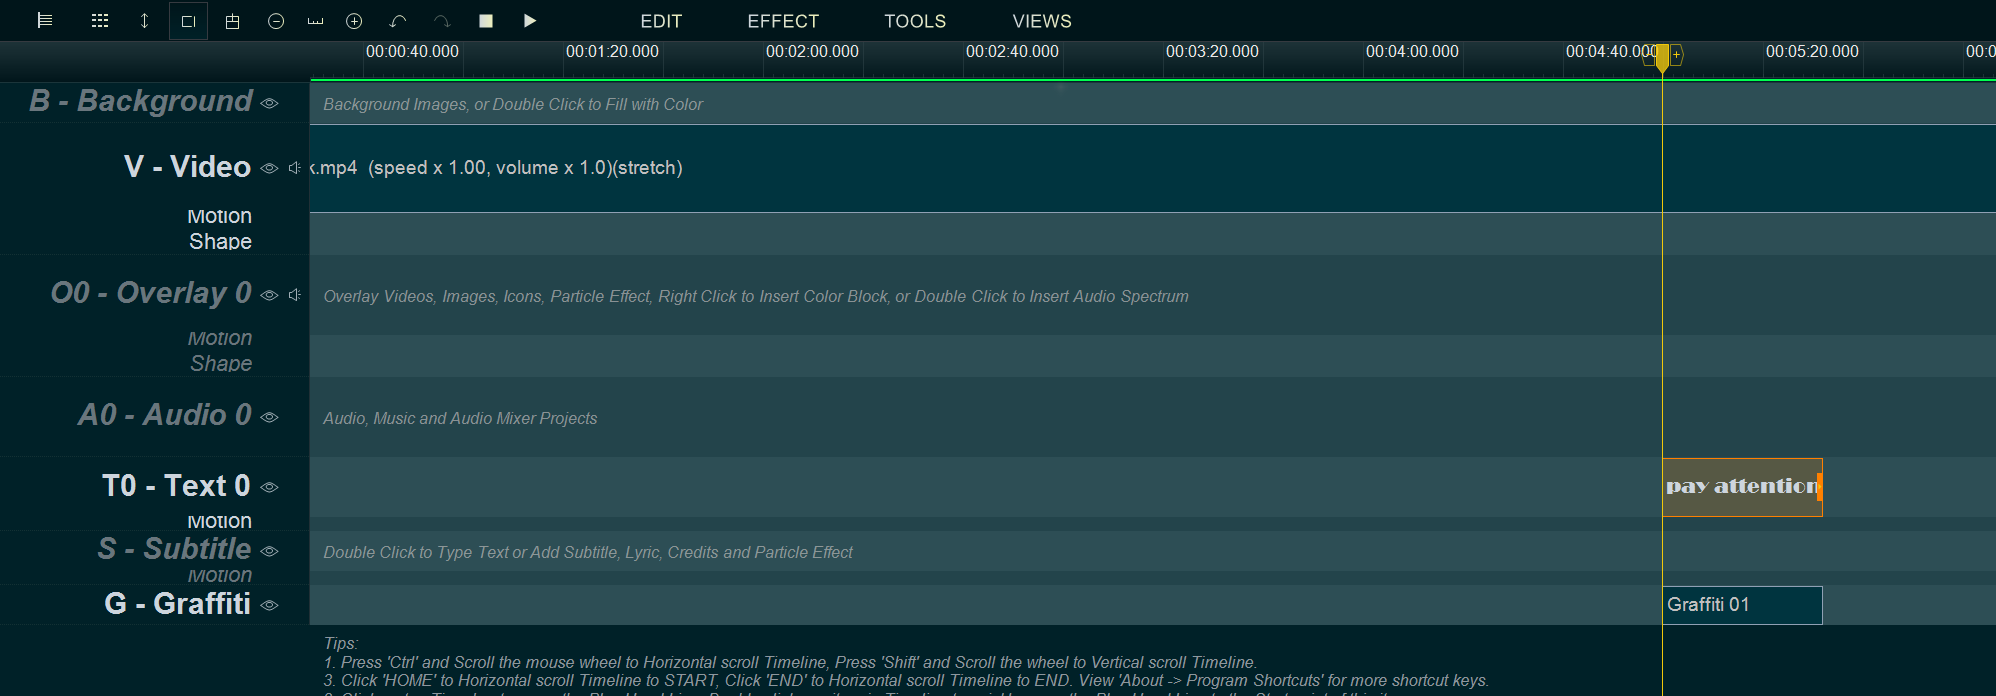
Step 6, And you can double click on the Text Line to add any intro text.
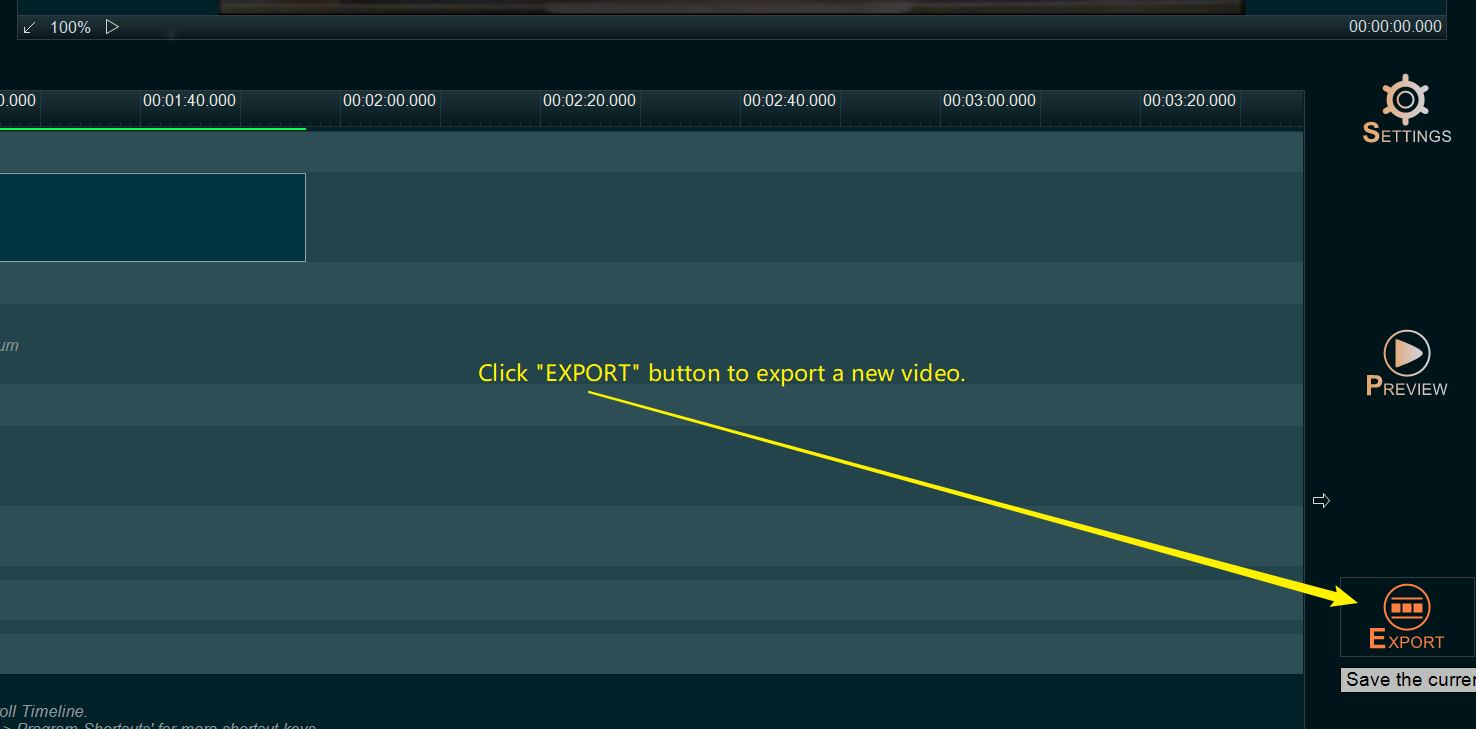
Step 7, Click lower right “EXPORT” button to export a new video.