In this article, we are mainly here to talk about how to make a subscribe GIF out of still images.
When watching YouTube videos, we may notice that some YouTubers added funny animations like subscribe button GIF to remind their viewers not to forget to subscribe to their channels.
The subscribe GIF here is not the subscribe button located at the right bottom corner of each YouTube video as default. The default YouTube subscribe button has limitations on size and format. You can only upload a 150×150 pixels GIF or a 150×150 pixels PNG file, however, the GIF is not an animation when the video is playing.
Subscribe GIF Maker List:
There are several GIF editors that were highly recommended on creating a like and subscribe button free.

GIFMaker is safe for users to make free GIFs from no more than 300 images(JPG/PNG). You can also mix GIFs to get a new one or convert video to GIF. The interface of GIFMaker is quite simple and crude. But the main operation buttons are apparent enough for you to find easily.
Upload multiple images
Drag the images up/down to change their order.
Check the result in the control panel on the right side.
Reset three important parameters of a GIF: size, animated speed, and loop times. Notice that 0 in loop times choices means infinite loop.
Add music or not to the GIF.
Click “Create GIF Animation”.
Before you download it, GIFMaker allows you to resize or compress the images to get a smaller size. If you are making a GIF for an icon, you can also make it a transparent background.
Advantage:
GIFMaker is extremely easy for new beginners to make a GIF in a minute.
Disadvantage:
The crude page layout is 80% to leave users a bad first impression.
How to make a GIF in better image quality?
Save your images in .jpg format and upload them.
Reduce the color number in each image with your image editor.
Create your GIF in a larger size( e.g. 512 x 512 px ), and display it in a smaller size( e.g. 256 x 256 px ).
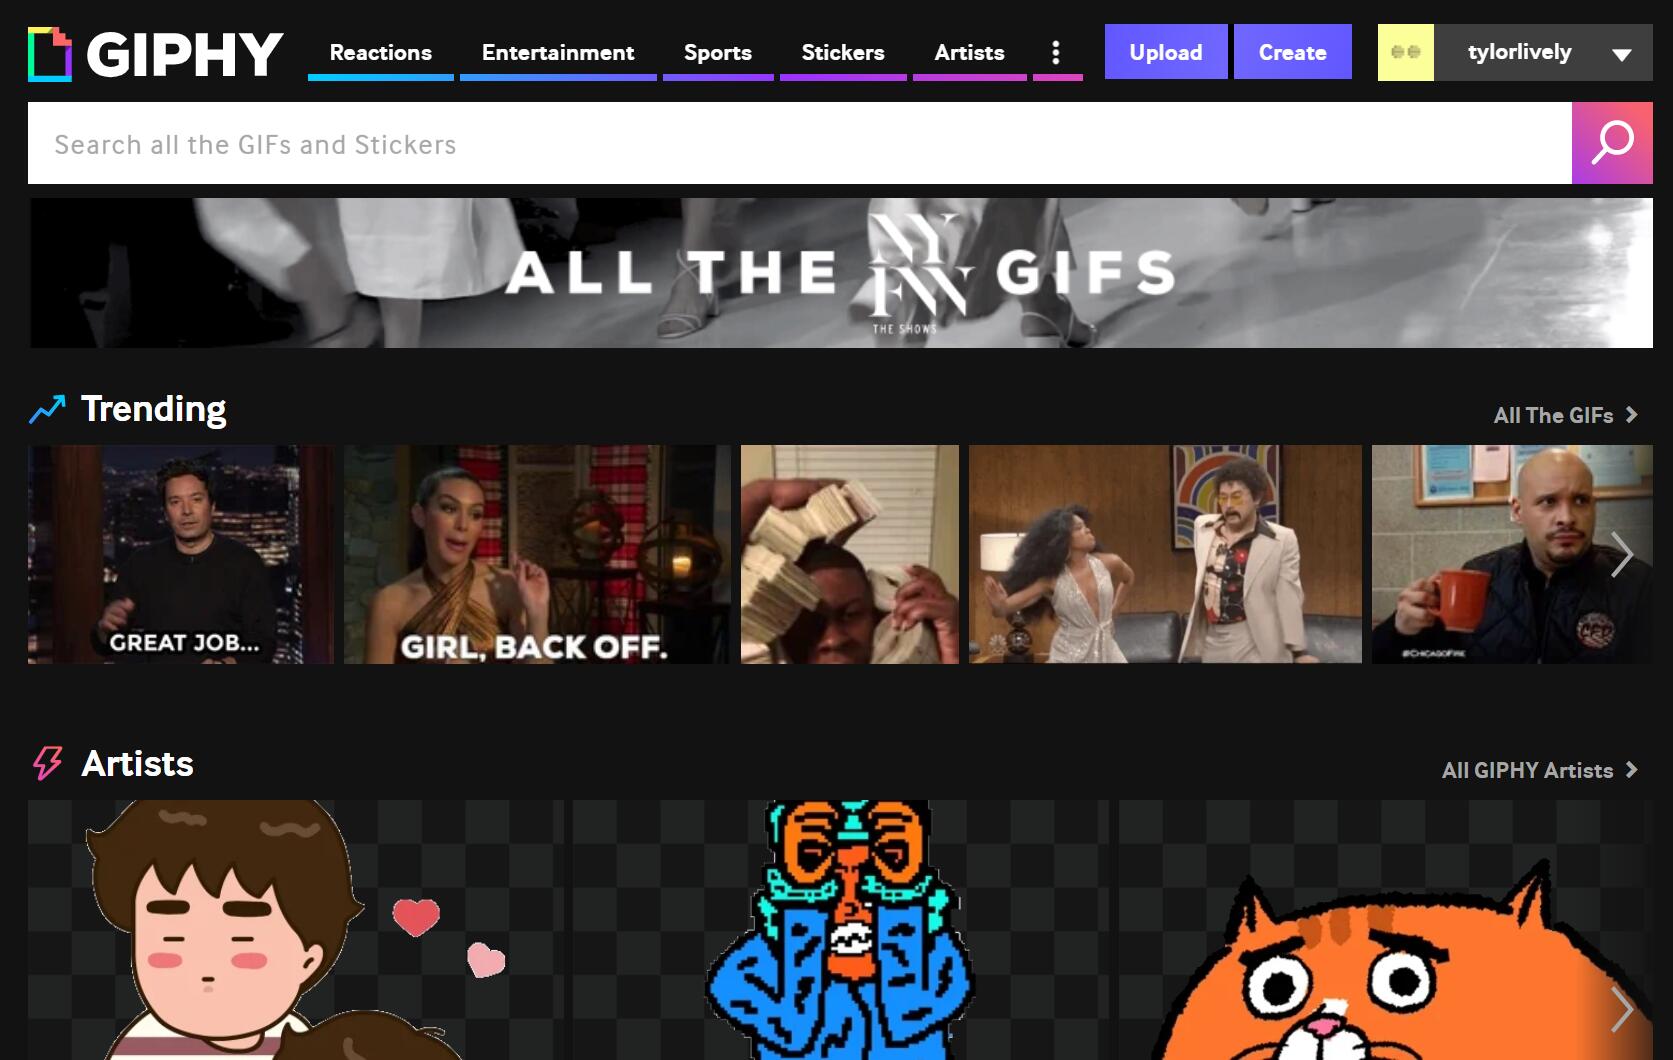
Relatively, GIPHY is a more comprehensive GIF maker than others, because it allows artists to create and publish their works on it. And other users can share or get an embedded link of the GIFs they like. GIPHY has a wide range of GIFs included reactions, entertainment, sports, gaming, emotions, meme, anime, clips, and so on. You can find any type you want by searching @username+tag in a verified channel.
Making a GIF on GIPHY is kind of making a slideshow.
Click “Create”. It supports you to mashup images, videos, and GIFs to make a new GIF.
Upload image files.
Drag and drop to change the order to the way they will appear in your slideshow.
Reset the duration of each image.
The max duration for a complete GIF is 15 seconds. That means the more images you enter, the shorter the duration each image will appear.
Click “Continue to decorate”, then you can add a caption, a sticker, a filter, or draw something yourself.
However, you need to create an account. Because It asks you to “Upload to GIPHY” before you download it.
After uploading it, click the share icon beside “Media”, then you can download it under the size you want.
Advantages:
GIPHY has many handy and wonderful optional tools that can help decorate your GIFs in several clicks.
The operational interface is friendly for users to start their first creation.
Disadvantages:
An account is needed.
You need to upload your creations to GIPHY before downloading them, but you can choose to keep them private.
GIPHY adds a non-transparent background to your GIFs automatically even that you imported PNG files.
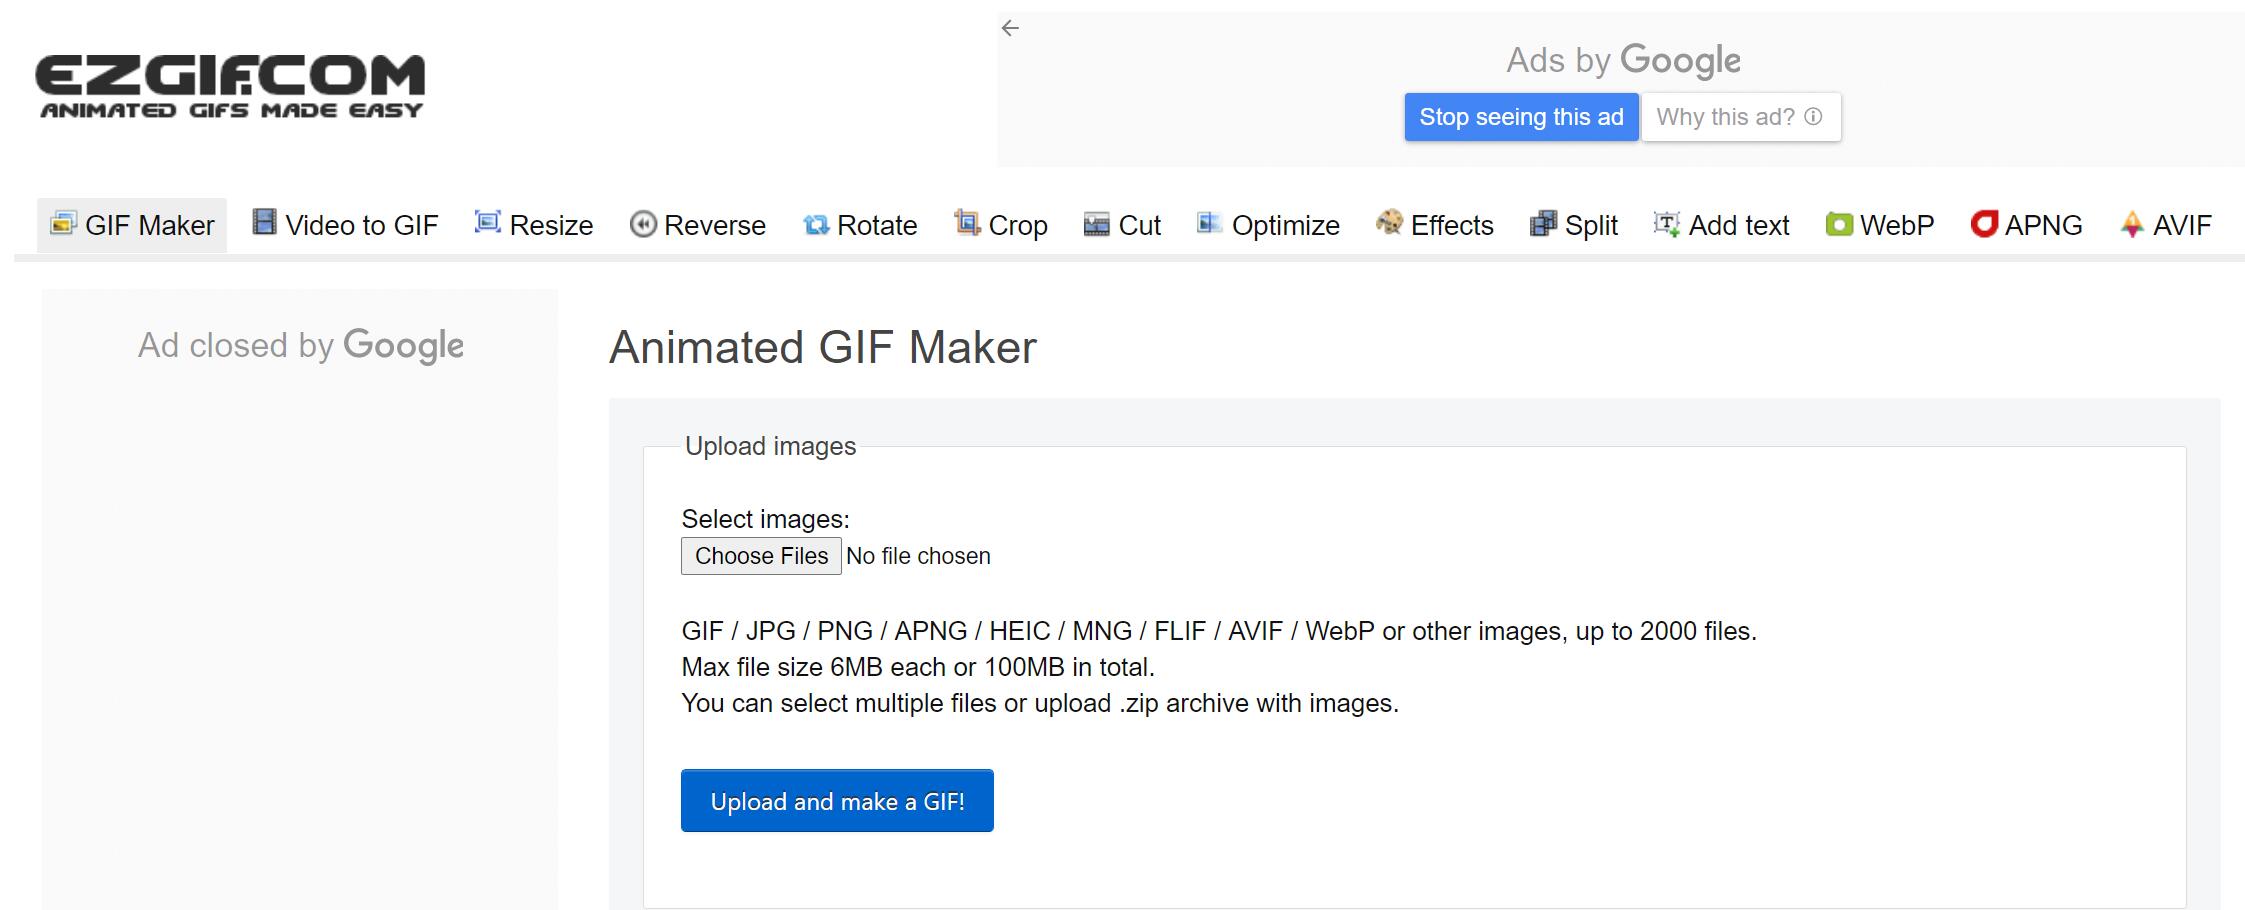
EZGIF is a free and simple online GIF maker that you can use its practical toolset to edit and create animated GIFs, banners, slideshows from a sequence of still images.
Select images by browsing the files on your computer.
Press the “Upload and Make a GIF” button.
Drag and drop images to change order.
You can edit the delay time of each frame or you can reset the delay for all frames uniformly.
There are also options to copy or skip a certain frame.
Set the loop times. “Empty” here means loop forever.
Add effects or not to your frames.
Click “Make a GIF” to enter the next step.
You’ll almost get a completed creation with its detailed information: size, width, height, and type.
A really useful and considerate feature of EZGIF is that it placed a “Convert” button beside the type. So you can click to choose the format you want to convert in the drop-down list.
To provide better service, EZGIF prepares optimization tools and advice.
You can follow the link to optimize the file size or select one of these options such as rotate, reverse, crop, effects, speed, cut, write split, and so on to decorate your creations.
Finally, save it when you finished.
Advantages:
Users can select multiple files or upload a .zip archive with images.
Easy for users to catch up on the steps of making a GIF.
You can add a crossfade effect and no-stack effect to your frames so the GIF will animate naturally when it turned to the next frame.
Disadvantage:
If you find its disadvantages, please leave your comments below.
As is known, Photoshop is almost the most powerful photo-editing, image creation, and graphic design software. It also supports users to create an animated like and subscribe GIF with a bunch of photos and frame animations.
If you’ve downloaded or created image files, you just need to import a series of images to Photoshop.
File > Scripts > Load Files Into Stack > Browse > Select Files from Folder > Click OK.
Or you can create image files in Photoshop directly.
Open up the Timeline window.
Top Navigation Menu > Window > Timeline > Create Frame Animation.
The “Create Frame Animation” option is in the Timeline window, and the timeline window is at the end of your screen.
Create a new layer for each new frame.
Top Navigation Menu > Select > All Layers
Then click the menu icon on the right of the Timeline screen and choose “Create New Layer for Each New Frame” in the dropdown menu.
Click the same menu icon in the last step but select “Make Frames From Layers”.
Click the time below each frame to select the duration of a single frame.
At the bottom of the toolbar, select the loop times of the subscribe GIF. Usually, GIF files will loop forever. Of course, you can customize the loop times by click “Other”.
Preview your GIF by pressing the play icon.
Once you are satisfied with your subscribe button GIF, you can go to the top navigation bar and click File > Export > Save for Web (Legacy)… > GIF > Save.
Advantages:
It can make all your imaginations of how a GIF looks come true.
Users are easy to feel a sense of achievement in creating progress.
Disadvantages:
Photoshop is more attractive to users who have time and energy to figure out how it works, but it’s a little bit difficult for ordinary users.
You need to download the software.
It has demanded computer disposition.
You can add the subscribe GIF to the Overlay Line in YouTube Movie Maker.
Reset its position and zoom it in/out to display on the video naturally.
And you can decide when and how long it displayed by dragging its length along the Overlay Line.


